Semolina Braid
Let me be honest—this bread was the biggest pain-in-the-butt project I’ve taken on in a while. Baking with yeast can be really fun, and thanks to the stop-and-go nature of it, it’s great to do while you’re also working on other things (like writing cover letters and applying for every job I can find). But this one was challenging.
I can guarantee that if you try this bread, your kitchen will be a floury, sticky mess in no time flat, and you’ll probably be peeling dried dough flakes off your hands for hours after you’re done. That’s pretty typical of baking with yeast. But I can also assure you that I have adapted this recipe from the one I used, so that you may avoid my missteps! This way, you’ll make a much smaller mess than I did, and you’ll wind up with a very delicious loaf of fresh-baked bread and an incredible sense of accomplishment.
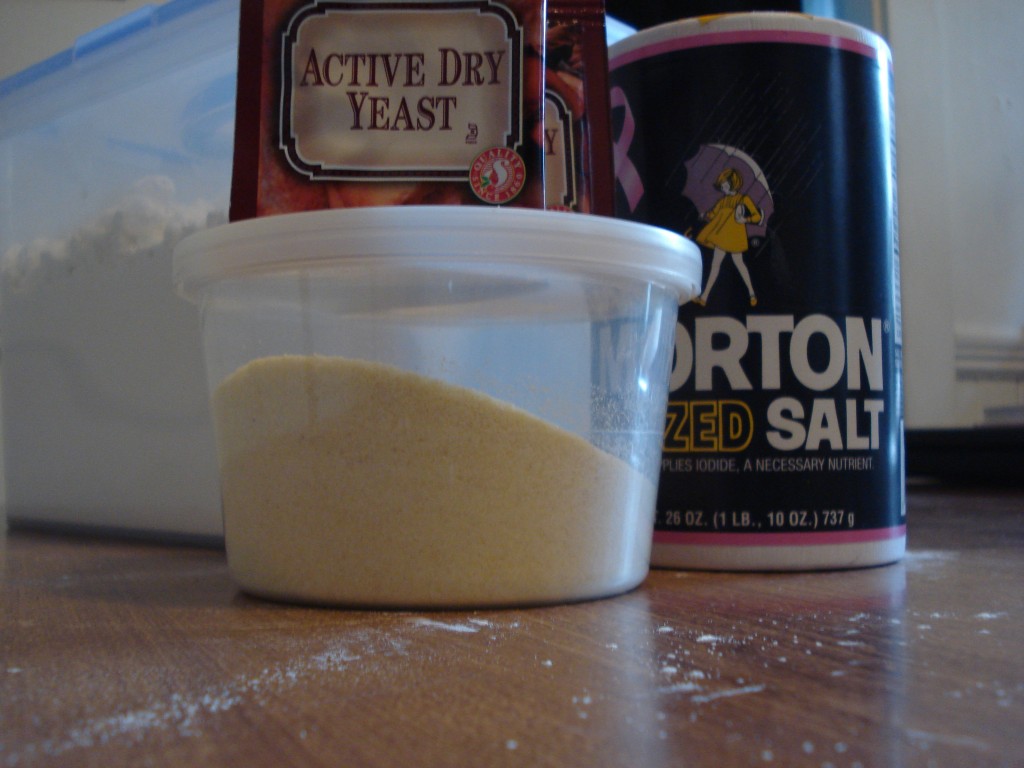
Not including warm water, this is all you need for this recipe. You can find Semolina flour at Whole Foods, or probably in the “fancy section” of a non-Whole Foods grocery store. (I actually found mine at Harvest Co-op, for those of you who might be in the Boston area.) Semolina comes from durum wheat, which you have probably eaten a million times in dried pasta. It adds an excellent flavor and chewiness to this bread.
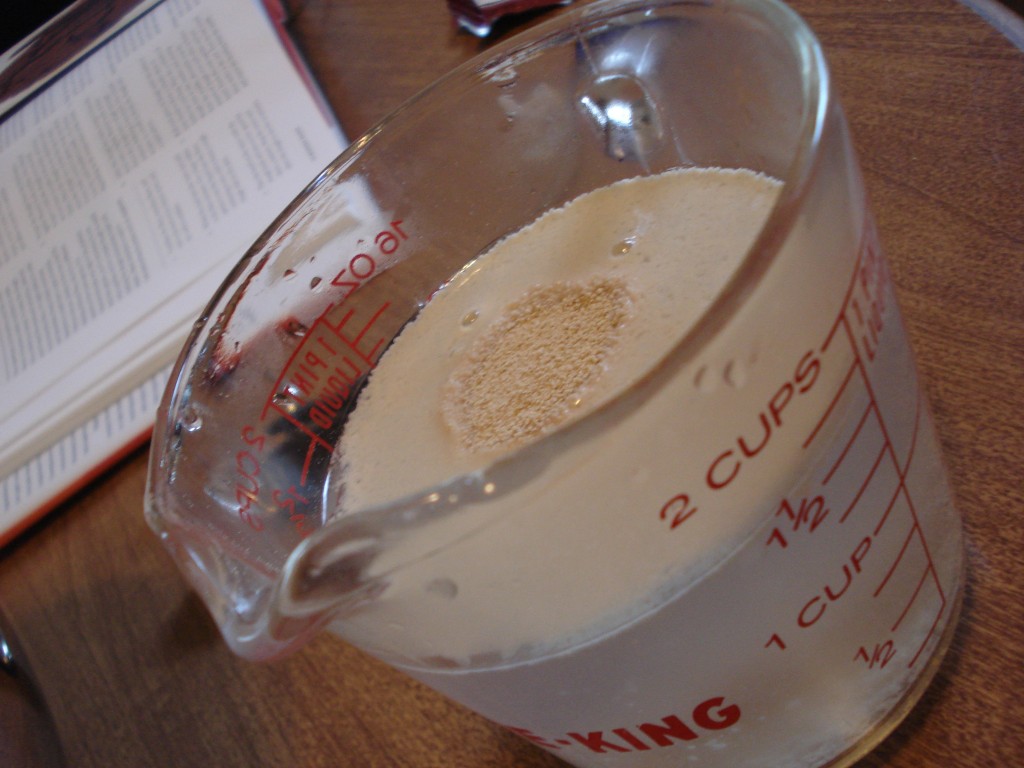
You’ll mix all-purpose and semolina flours with a little bit of salt, and then dissolve the yeast in warm water.
Yeast is just magical. And it smells delicious… really. Is that weird?
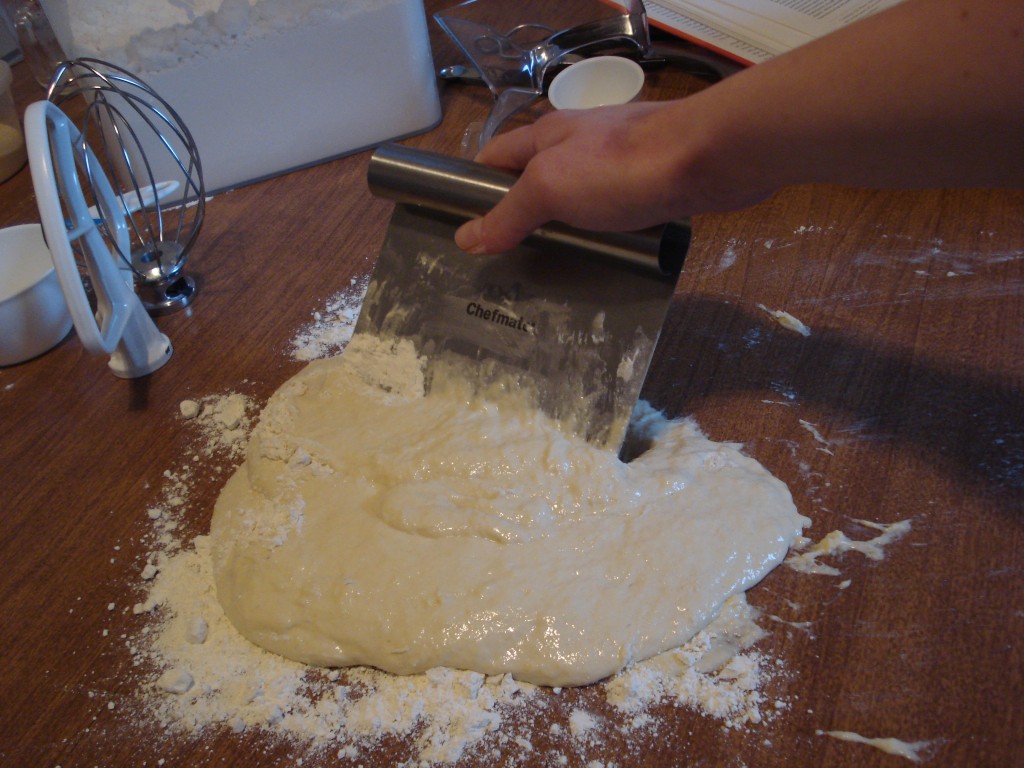
Add the yeast mixture to the flours, stir, and let it sit for its first rise. Next, you’ll dump the mixture onto a floured surface and attempt to knead it. The recipe says to use a bench scraper to fold the dough over on itself several times, which is genius, because it makes sticky dough easier to work with. But…
At this point in the process, I highly recommend adding more flour. You’ll want to keep it really soft, but you don’t want it to be so sticky that you can’t handle it. Just add the flour, a little at a time, until it kind of holds its shape and no longer sticks to the table.
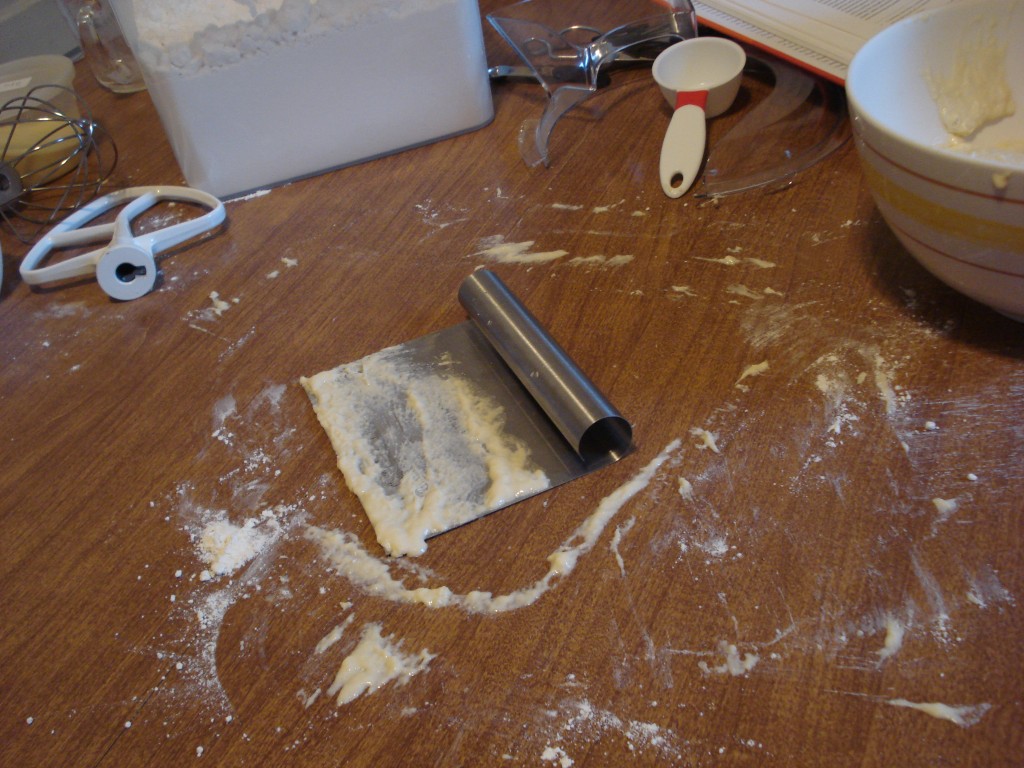
This is what your table will look like after you’ve kneaded the dough and set it aside for a second rise. It’s part of the fun. Embrace it.
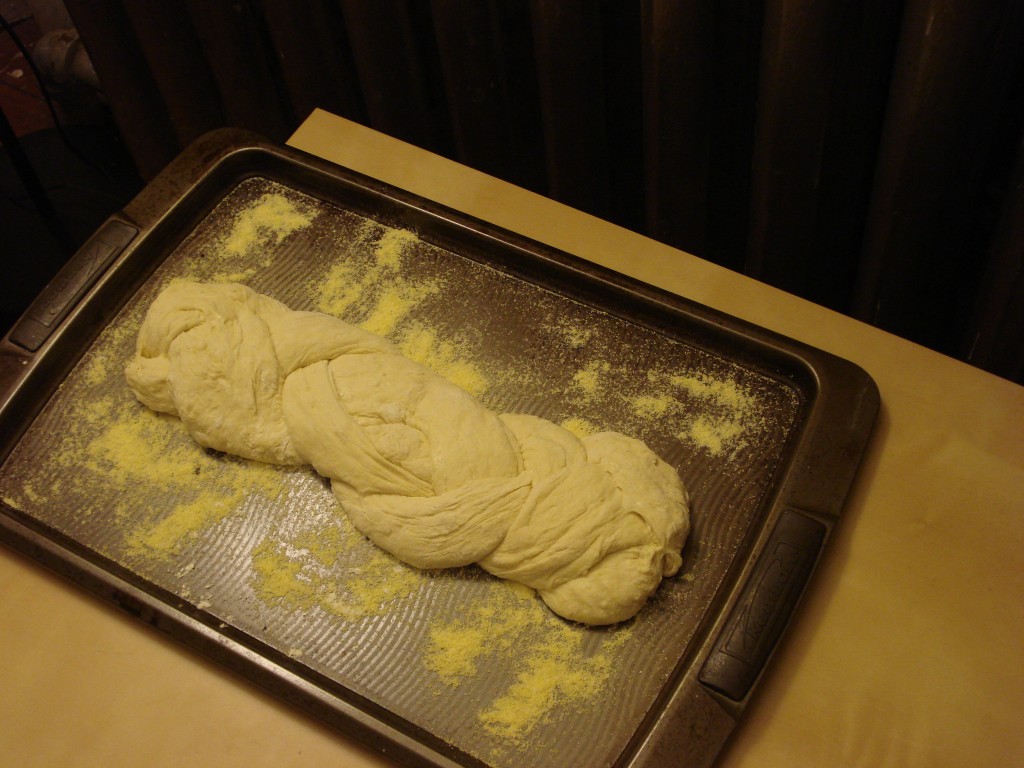
The next step is the best. After your dough has risen for the second time, you’ll divide it into three chunks, roll those chunks into ropes, and braid those ropes together.
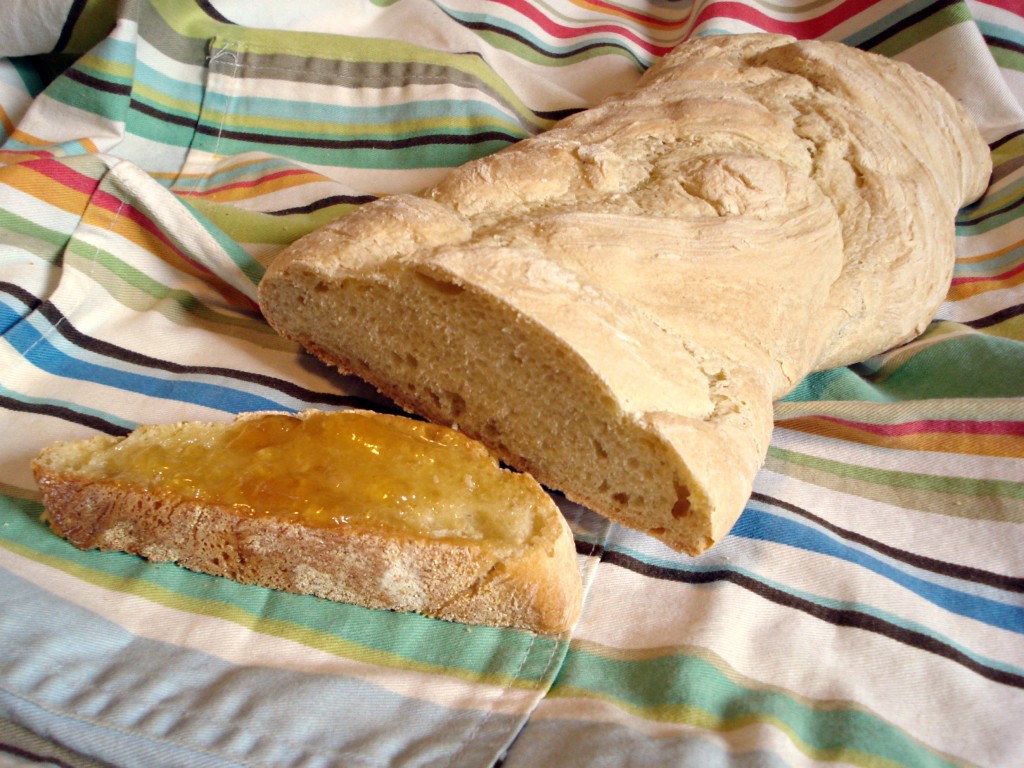
I’d also recommend making your three dough ropes shorter and fatter than I did. That way your loaf will be (surprise!) shorter and fatter, and much prettier than this unfortunate-looking thing.
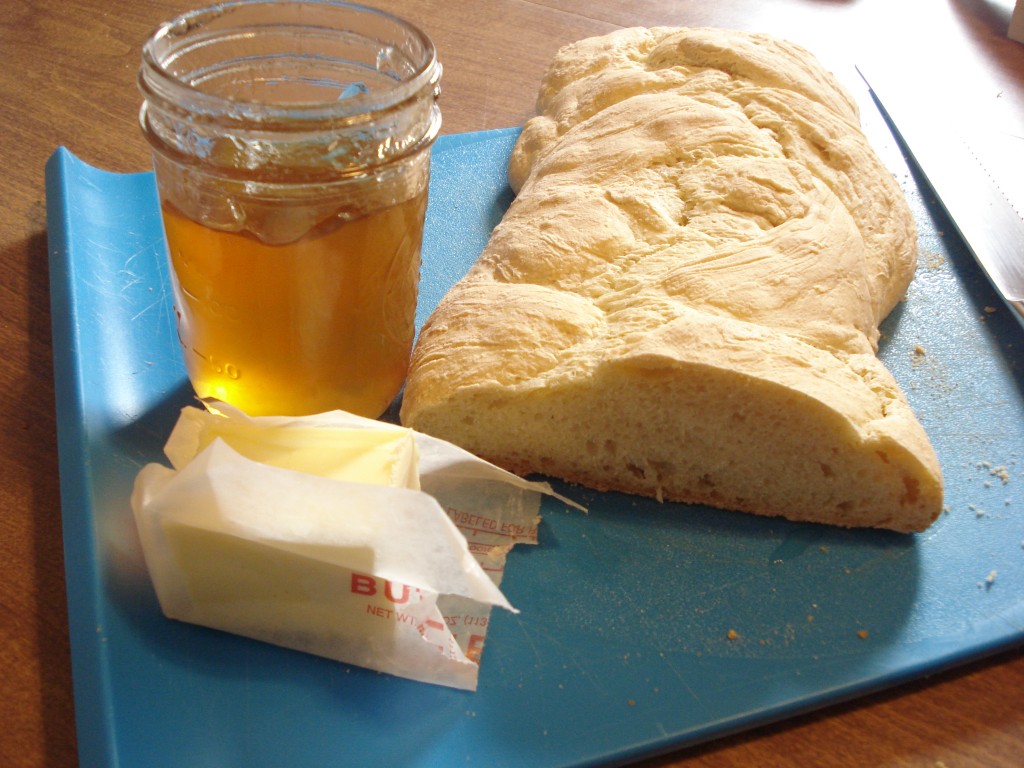
But even if your loaf doesn’t look too pretty, it still makes a beautiful breakfast:
Semolina Braid
Adapted from The Modern Baker
2 cups unbleached all-purpose flour
¾ cup semolina flour
2 teaspoons salt
2 ½ teaspoons (1 envelope) active dry yeast
1 ½ cups warm water (you should be able to keep a finger submerged for several seconds with no pain)
Combine the flour, semolina flour, and salt in the bowl of an electric mixer and stir well to combine.
Whisk the yeast into the warm water and add to the flour mixture. Use a large rubber spatula to mix the liquid into the flour, continuing to mix until it forms a rough dough with no dry spots.
Place the bowl on the mixer with the dough hook and mix on low speed for about 3 minutes. Stop the mixer and allow the dough to rest for 20 minutes. (If you don’t have a kitchen mixer with a dough hook, you can probably just give it a good stir with a wooden spoon.)
Start the mixer again on low to medium speed and mix the dough until it is elastic, about 2 minutes. Remove the bowl from the mixer, cover it with a towel or plastic wrap, and allow to rest for 10 minutes.
Scrape the dough (it will be sticky) from the bowl onto a lightly floured work surface. Use a bench scraper to fold the dough over on itself several times to make it smoother and more elastic. If your dough is super sticky and liquidy, add flour, a spoonful at a time, and work it in until you can handle it, but make sure it is still slightly wet and very soft.
Place the dough in an oiled bowl and turn the dough over so that the top is oiled. Cover with a towel or plastic wrap and allow it to rise until doubled in bulk, 1 to 2 hours, depending on the temperature of the room.
After the dough has risen, scrape it from the bowl onto a lightly floured surface. Form the dough into a rough rectangle without deflating it too much. Use a bench scraper or knife to divide the dough into 3 equal pieces.
Roll each piece of dough under the palms of your hands to form a rope about 12 inches long. Place the 3 ropes next to one another (they should be touching) and, starting in the middle, alternately cross the strands of dough over each other to form a braid. Pinch the ends together and turn them under at the end. Repeat the braiding on the other side, starting again from the middle. Slide your hands under each end of the loaf and transfer to a pan dusted with cornmeal.
Cover with a towel and let it rise again until doubled, about 1 hour.
About 20 minutes before the bread has risen, preheat the oven to 400 F. Bake until the braid is well risen, deep golden, and feels firm when pressed with a fingertip, 30 to 40 minutes. Allow the braid to cool on a rack.

