I Made Crème Brûlée.
Quick! Pop quiz.
What is the best way to a woman’s heart?
A. Flowers.
B. Chocolate.
C. A Teddy Dog.
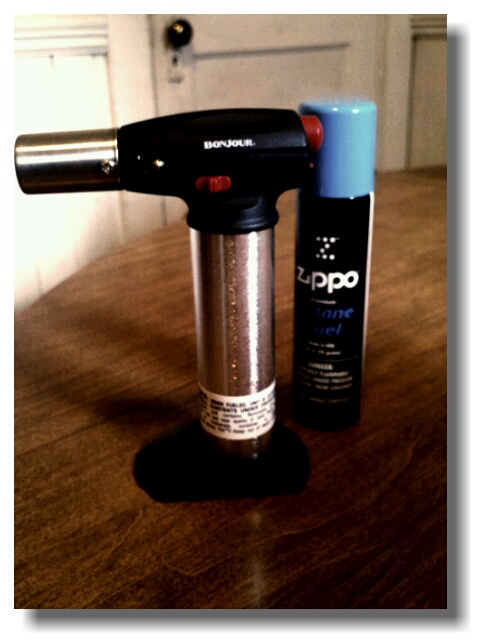
D. A chef’s torch and a bottle of butane.
Ok, so the answer is technically “all of the above.” Presents are sweet, no matter what they are. But my boyfriend clearly answered the question with “D,” and he threw in four ramekins (those adorable dishes in which crème brûlée is served). That’s why he’s awesome.
I have big plans for this torch. Lemon meringue pie. Mac and cheese with torch-toasted topping. Bacon sprinkled with brown sugar and caramelized with an open flame (just you wait). But in order to become properly acquainted with my new kitchen toy, the obvious choice for me was to whip up some crème brûlée.
This seems like it should be a really complicated dessert. When you see it on a restaurant menu, it’s pretty pricey, and you figure it must be kind of tricky to achieve that perfectly caramelized sugar topping. However, I’m happy to tell you that, if you have a torch on your hands, this luxurious dessert can be yours for just a couple of dollars per serving, and with fairly minimal effort.
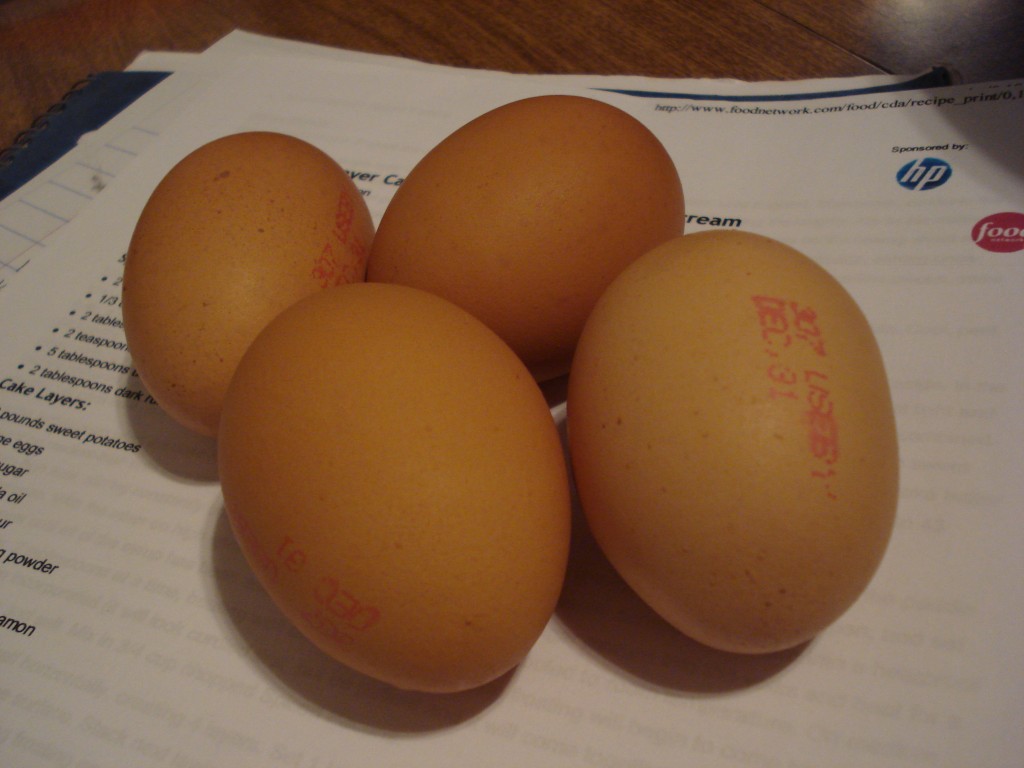
Jumbo eggs are probably your biggest expense here. Also, when did they start stamping each individual egg with an expiration date? It seems like such a waste. (Ignore that recipe beneath the eggs. This is a photo from a different day.)
It turns out that crème brûlée is about the easiest dessert in the world to make. If you can turn on your stove and oven (and operate a whisk), you can do this. However, using the torch does take some practice.
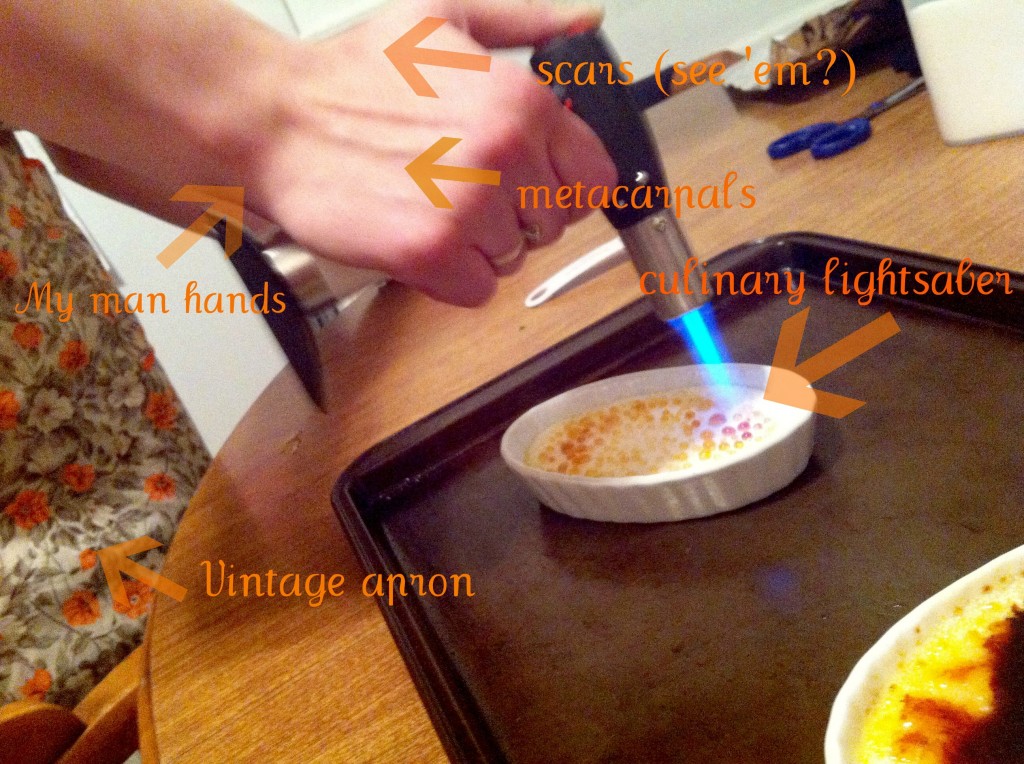
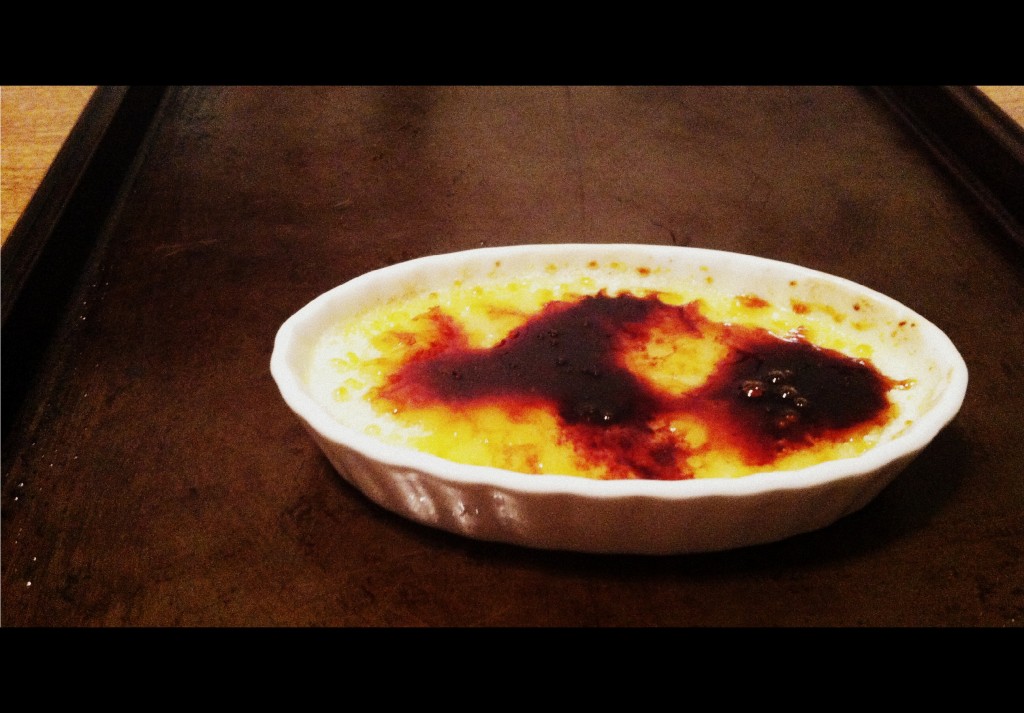
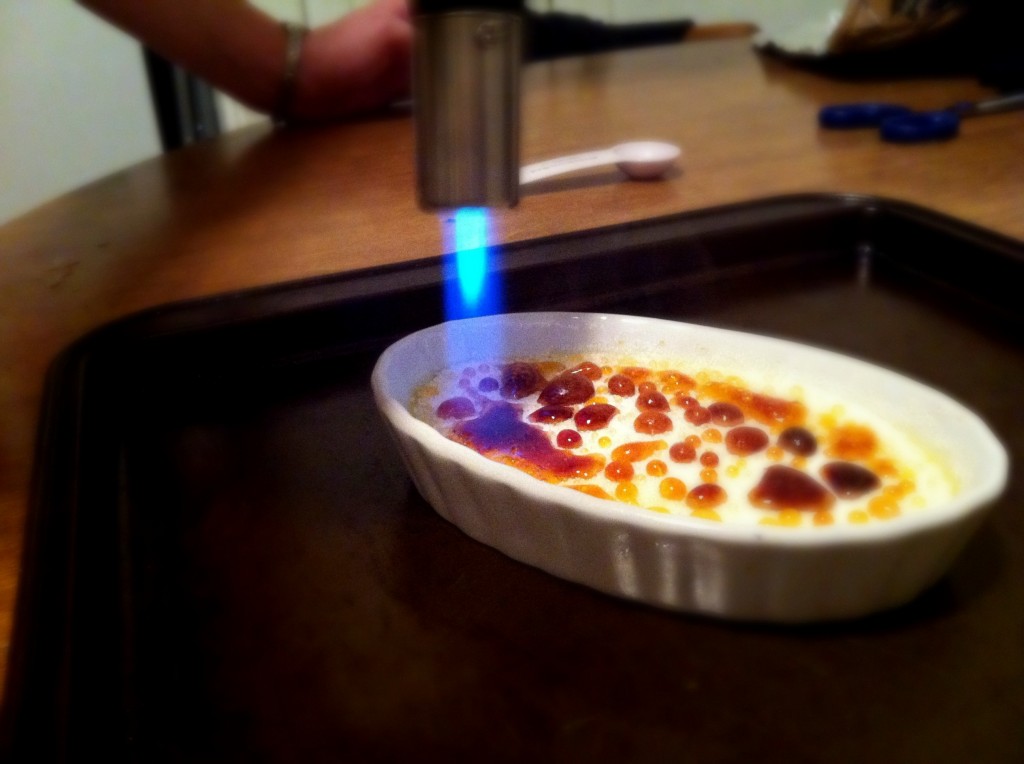
The trick is to put just a small amount of sugar on top of the custard, and keep the torch moving quickly. On my first try, I followed the recipe exactly, and ended up with four teaspoons of sugar on top of each custard. I also held the flame steady until I saw the sugar browning in front of my eyes. Here was the result:
This is what I like to call “crème a-little-too-brûlée.” You live, you learn.
When you get to this point… just stop. Yeah, the flame is mesmerizing, but you’re burning the sugar. And not in that toasted marshmallow way, but, rather, in the “sneak into the kitchen and spit it into the trash can” way.
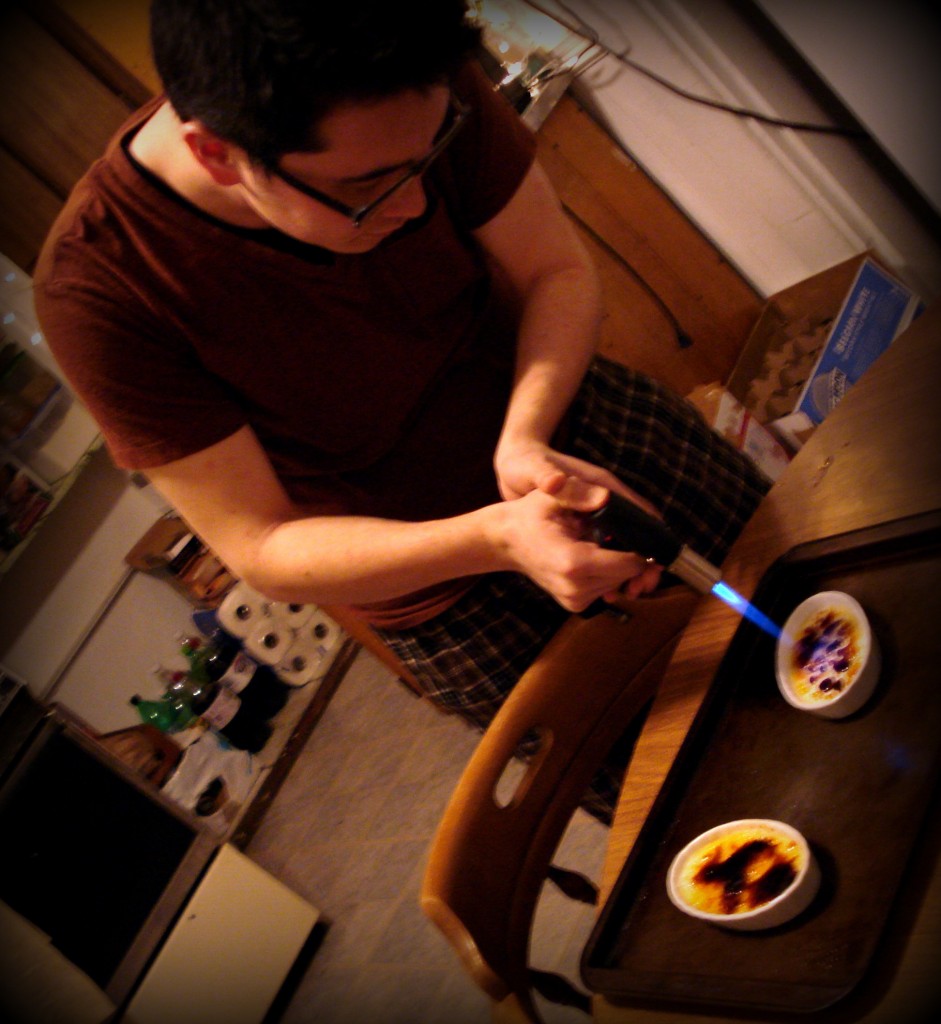
Here’s Alex giving it a shot. (Yes, we were doing this around 9PM. Hence the jammies.)
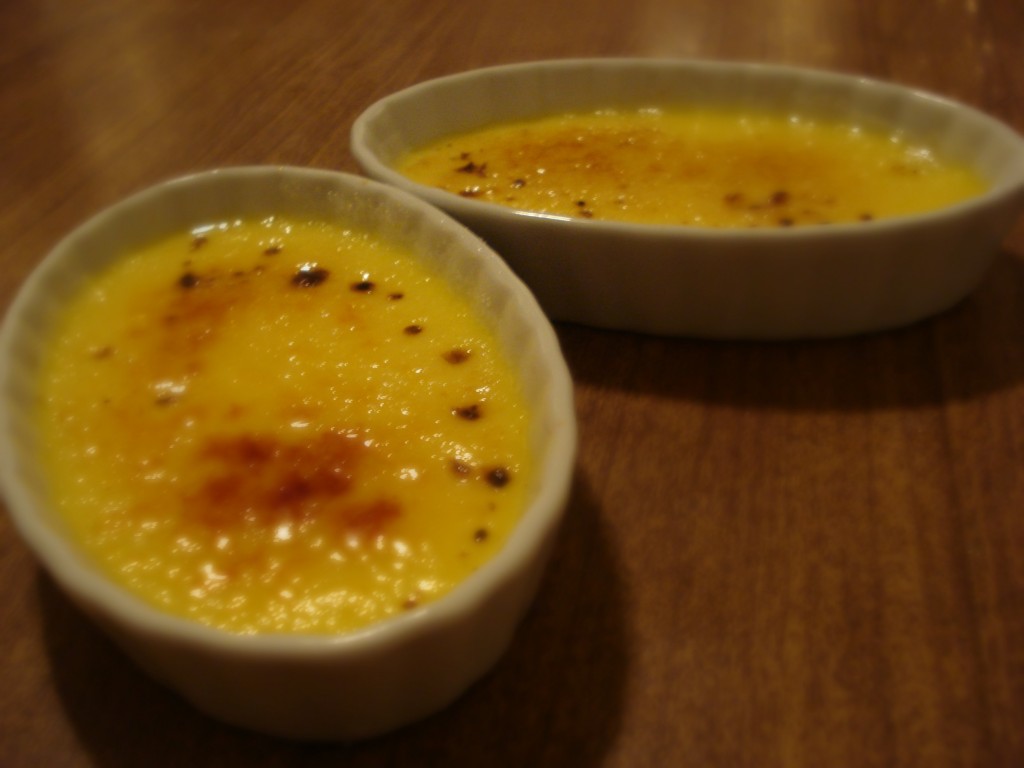
Apparently, the second time’s the charm. The recipe makes enough custard to fill four ramekins, so we saved two of them to try on the next day, and I cut down on the sugar topping and took it easy with the torching. I think they still could have been a little more brown… but these were certainly better than the first ones.
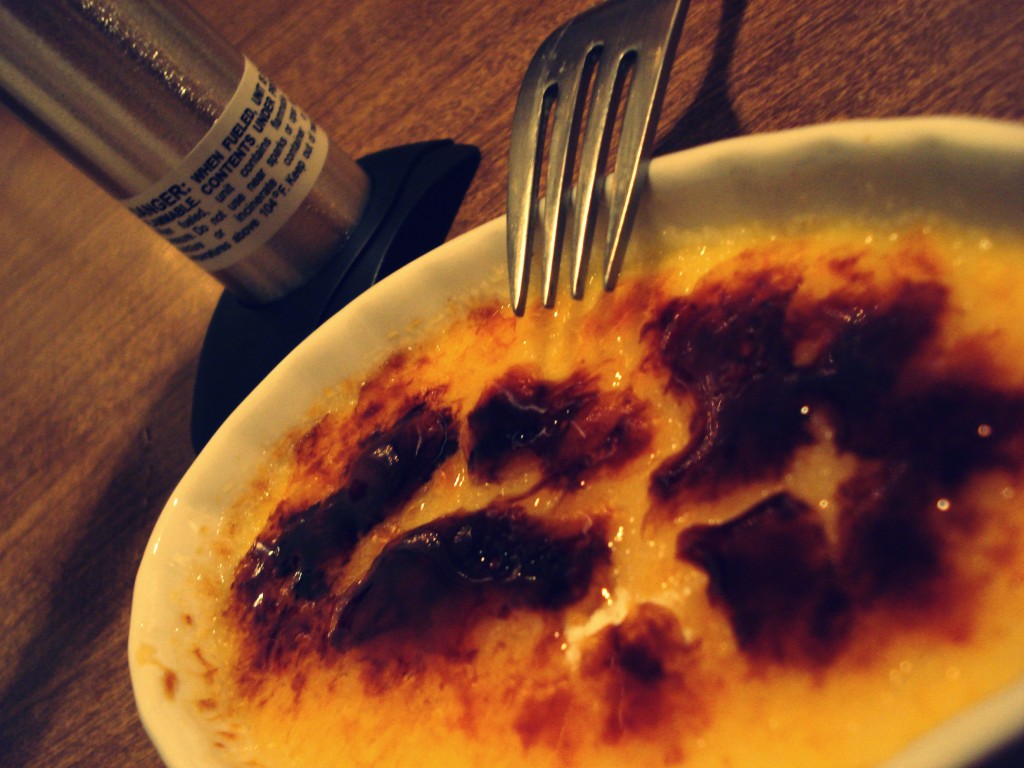
And even though they weren’t so tasty… the burnt brûlées (burnt burnts?) sure were photogenic.
Crème Brûlée
(adapted from the recipe that came with my torch)
1 cup heavy cream
2 Tablespoons plus 8 teaspoons sugar
2 extra large or jumbo egg yolks
½ teaspoon vanilla extract
Preheat oven to 300 degrees. Prepare some boiling water.
In a saucepan (preferably nonstick) over medium heat, combine cream and 2 Tbsp. sugar. Cook, stirring occasionally, until small bubbles appear around edges of pan. Keep a close eye on the cream, as this happens fairly quickly. Set aside.
In a bowl, beat egg yolks and vanilla until smooth and light. Pour hot cream mixture into egg yolks, a little at a time, beating continuously until well blended. Strain mixture through a fine sieve into a bowl. Divide mixture among 4 4oz. ramekins.
Arrange ramekins in a baking pan and place on middle shelf of preheated oven. Fill pan with boiling water to halfway up sides of ramekins. Cover pan loosely with aluminum foil. Bake until custard is just set, about 25 minutes.
Remove ramekins very carefully from pan with a spatula, place on a baking sheet, and chill for 2-3 hours or overnight.
Sprinkle 2 teaspoons of sugar onto each custard and gently shake ramekins until sugar is evenly distributed across the surface of the custards. With the crème brûlée torch, move the flame continuously over the surface of the ramekins in a circular motion until sugar melts and becomes golden brown and bubbly. Serve immediately.

Looks and sounds so special. Wish I had tried this twenty or so years ago.
Love all your photos with the blue nimekars. I really liked these, too. My 1/4 recipe also made three small servings, which I tucked away into the fridge and enjoyed one a day for three days–didn’t even offer them to anyone else, you know, since I have four kids and only had three desserts. 😉
So glad to see you blogging, it brings me joy to read your writing.
Dixie Crystal sugar is the very best for this, I don’t know what is different about it but the caramelization process is much easier and even with this brand. Might not be a popular brand name in Boston but I’m sure you still have your supply lines to the south connected!
Keep going, don’t stop! So good to keep in touch with you here.
The first time I made them it took an hour but the second time I made them 42 ineutms and they were done. Oh, well, I guess they tasted great both times as they are gone. Yours look very pretty and styled so nicely.
I haven’t seen Dixie Crystal anywhere in these parts. Maybe I’ll send away for some and see if that helps!
Keeping the blog going is my new year’s resolution. Please pester me if I fall off the bandwagon!
Hmm, I’ve only had pots de creme once, and it was sorta thick and custard-like from what I rmbeemer. Either way my husband still, 3 years later, daydreams about it so…I guess it was pretty good! Which is what made me click here – this would make a great surprise treat for him.