Homemade Mayonnaise: Deviled Eggs
Mayonnaise and I have a complicated relationship. Over the years, it’s gone from love to tolerance to hatred, then back to tolerance, and now it has grown into what I think can only be described as “wuuuv… twoooo wuuuuv.”
The first stage of love is easy enough to explain: I was about four years old. I specifically remember sitting at a blue and yellow plastic kiddie table in my family’s living room, dipping cut-up pieces of hot dog in mayonnaise. But there’s no accounting for what we like when we’re that young, and my feelings for mayo cooled sometime during my later childhood. Then, one fateful day in high school, I happened to step on a mayonnaise packet that someone had dropped on the sidewalk outside the cafeteria. This was back in the days of flare-leg jeans and Birkenstock clogs, so the mayo managed to splatter all over my shoe, and in my shoe, and inside my jeans leg. As if high school wasn’t an embarrassing enough time anyway, that day I had to walk around smelling like a condiment jar and endure the teasing of a bunch of weird boys that I was really interested in impressing at the time. Needless to say, I didn’t want much to do with mayonnaise for a while after that.
But in recent days, mayo has been working its way back into my heart. I can cite two good reasons for this: the monk’s frites at Publick House, served with (the most delicious evvvverrr) garlic mayo for dipping, and, more importantly, the homemade mayonnaise I tried several weeks ago while working at a cocktail party.
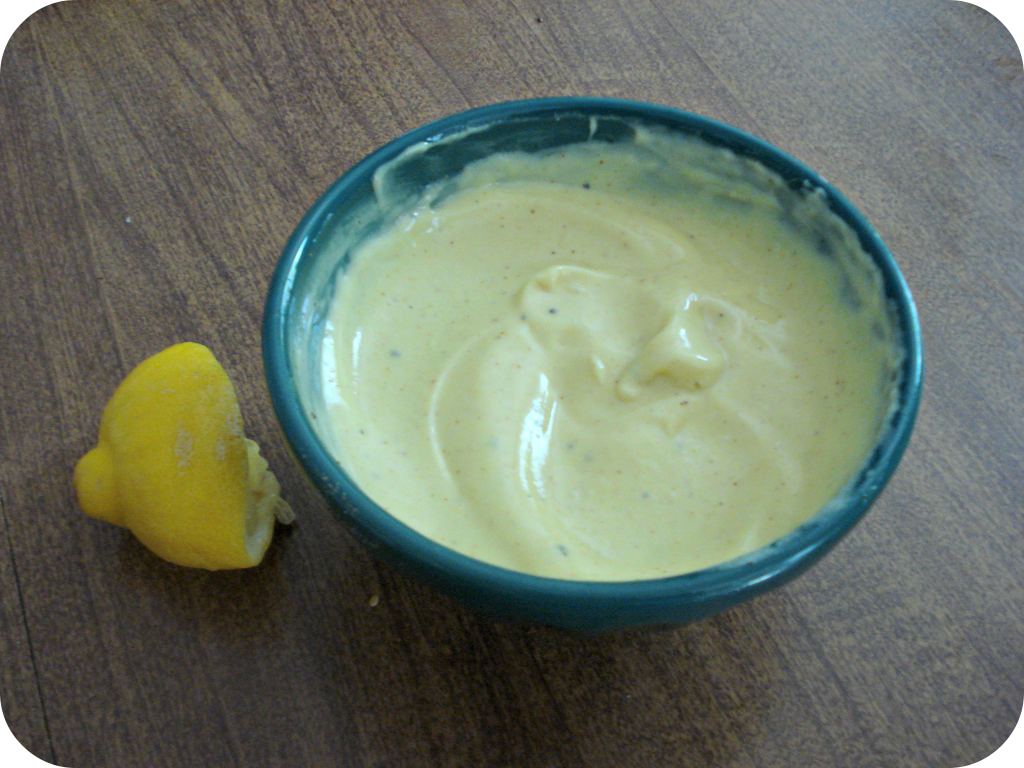
Homemade mayonnaise might seem like a really food-snobby thing to get excited about, but believe me: it’s so unrelated to the stuff you buy in a jar that I have trouble even thinking of them as the same thing. No judgment from me if you like the jarred stuff– I’m sure I’ll still have a jar of Hellman’s from henceforth– but it’s really worth making your own, at least once, just to taste the difference.
A small disclaimer: the pictures I’m posting here are actually from my third attempt at mayo-making. While the process isn’t hard at all, there are a couple of tricks to getting it right. I’ll do my best to share them so things will go a little more smoothly for you.
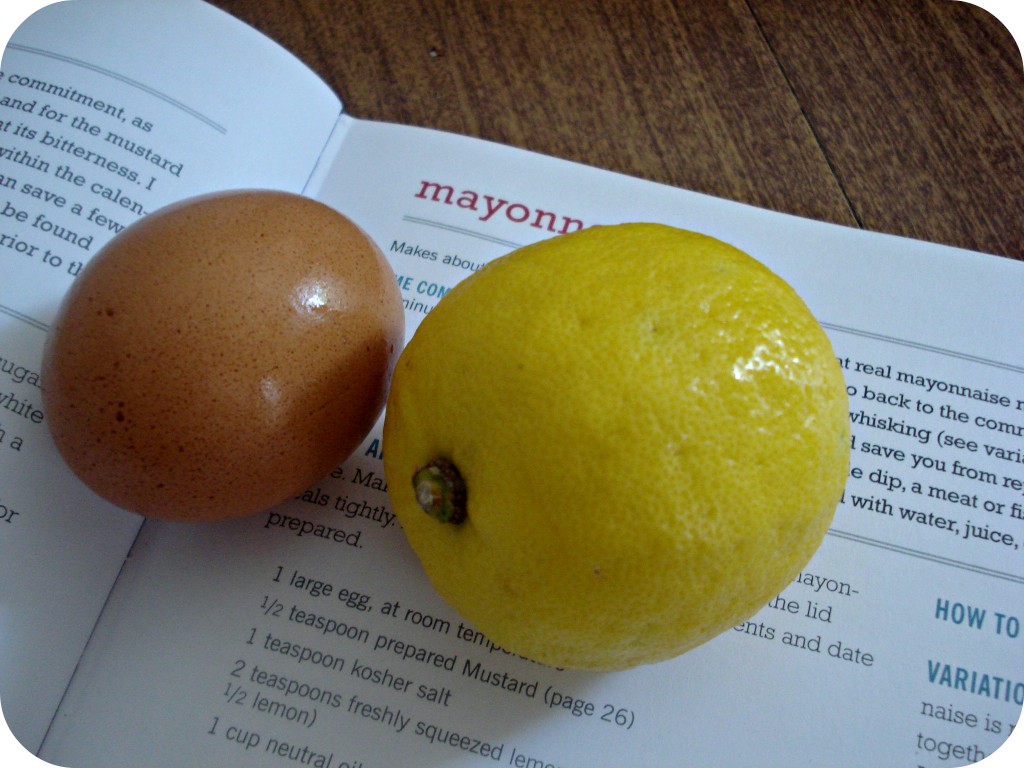
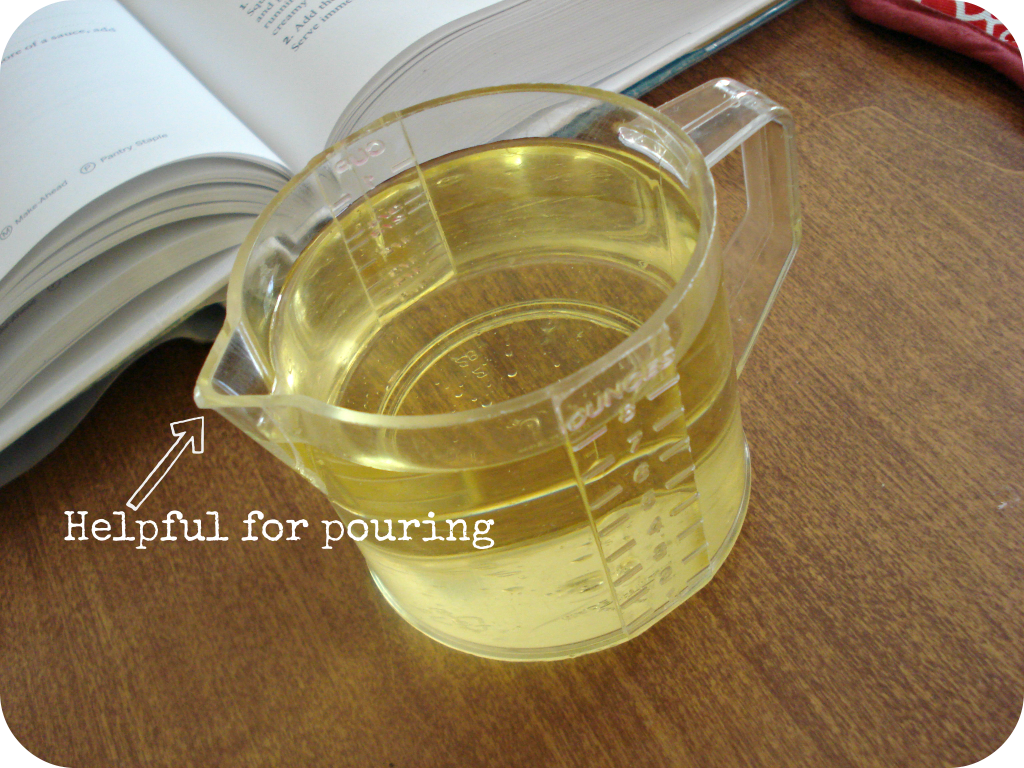
Go ahead and assemble all your ingredients well before you get started. You’ll want your egg to be at room temperature, and you should put your oil in a container with a spout. You can use any oil you like, but keep in mind that the mayo will carry the flavor of that oil. I played it safe and used canola.
Most recipes I’ve encountered call for a bit of mustard. This is optional, and I’ll probably skip it in the future, but it does give the final product a bit of a kick. My recipe called for Dijon, but since I didn’t have any, I used half spicy and half yellow. Not that this is a reasonable equivalent for Dijon– I was just messing around.
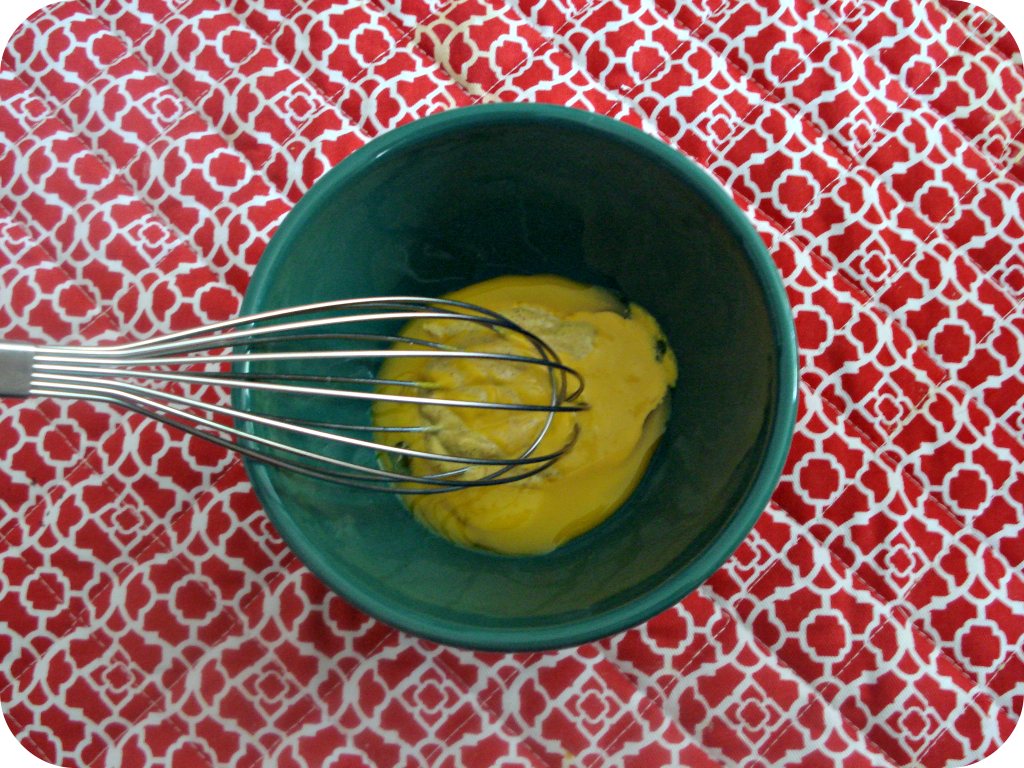
After whisking the egg yolk and the mustard together, you slowly, slowly begin whisking in the oil. Here’s where I ran into trouble the first few times. All the recipes insist that you add the oil a drop at a time, and increase to a steady stream of oil once you have a nice emulsion. I got so hung up on this that I made it way harder than it has to be. On my first attempt, my “steady stream” must have been much stronger than I thought, because my mayonnaise broke (the oil and egg separated). The second time around was a similar story; the final product was passable, but definitely not great.
Here are a few tips that I think will help you avoid my missteps.
1. Choose a mixing bowl that is tall and narrow rather than squat and wide. That’ll make the whisking easier.
2. Don’t be so nitpicky about adding the first of the oil drop by drop. Based on my experience, you could add up to about 1/4 teaspoon at a time and be just fine; just make sure you whisk the mixture thoroughly between each addition.
3. You don’t really have to increase to a steady stream of oil. Once your mixture looks like a nice, creamy emulsion, you can just increase the amount of oil you pour in at a time. The most important thing is still to make sure your mixture is blended between each addition.
4. You don’t have to whisk constantly. It’s ok to stop whisking and shake out your arm when it starts to get sore.
5. All the recipes say this, but it’s also important to put a towel, placemat, or other grippy apparatus under the mixing bowl. That way the bowl stays put while you’re whisking, freeing up your other hand to add the oil.
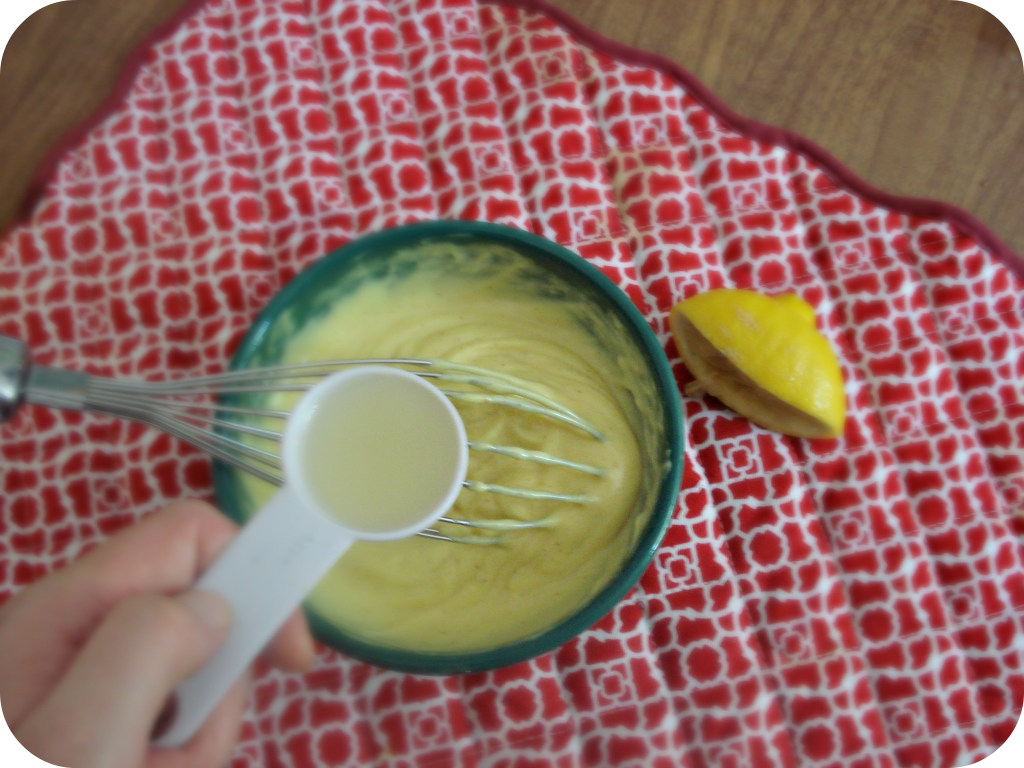
6. After you’ve added all the oil and you have a nice, mayonnaise-y mixture, add a teaspoon of acid. This can either be lemon juice or vinegar. In my second (failed) attempt, I used white wine vinegar, but this time I used lemon juice. I preferred the taste of the failed batch, so I recommend the vinegar.
I know– with a buildup like that, it’s hard to believe that this is an “easy” recipe. But truly, it is! Just give it a try, and don’t be discouraged if you have to try it a couple of times before you get it just right.
So, once you have a bowl of gorgeous, made-from-scratch mayonnaise, what on Earth do you do with it? My first choice was tuna salad, but I’m aware that that recipe is a) super easy, and b) not universally loved, though I can’t imagine why. So I’ll share my second choice: deviled eggs!
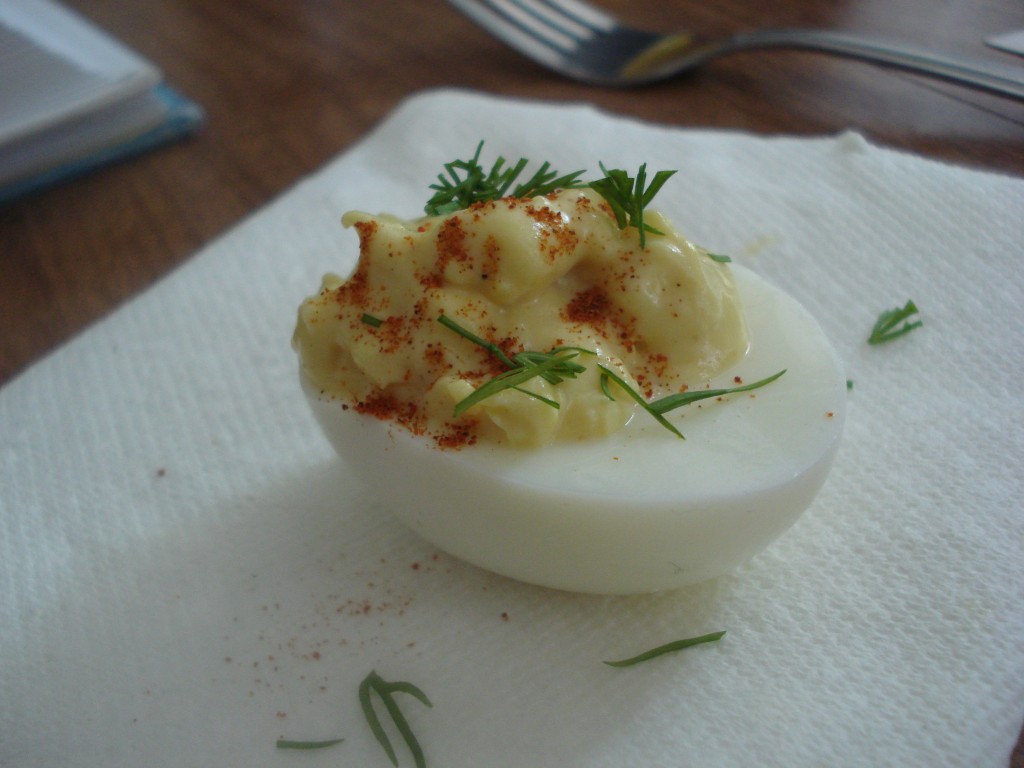
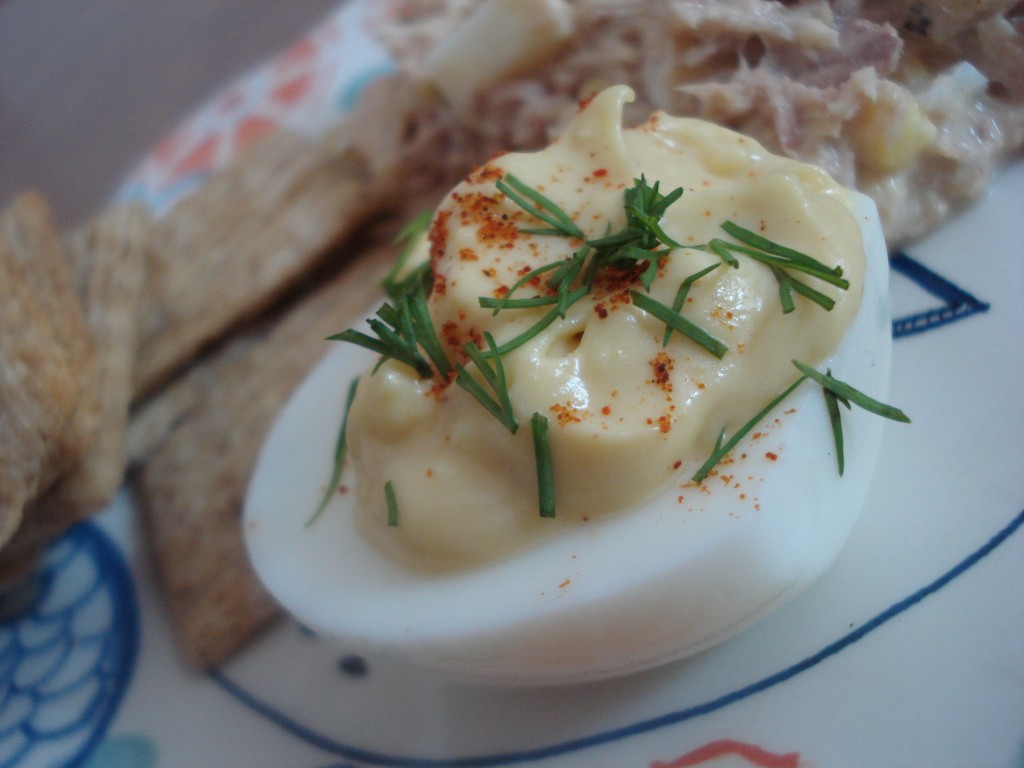
Deviled eggs, like so many other ancient Southern recipes, have as many different variations as there are different cooks. My favorite method of making them is to peek in the fridge, grab random condiment bottles, and mix-mix-mix until I get something that tastes like I want it to. This time around, I mixed the boiled egg yolk with my beautiful mayo, a touch of whole-grain mustard, a dash of Worcestershire sauce, and another dash of Tobasco, then garnished the assembly with a sprinkle of paprika and a bit of fresh dill (ordinarily, I’d go for snipped chives, but dill was what I had). Perfect addition to a lunch of tuna salad and crackers.
Seriously. Get in the kitchen and make some mayo, pronto!
Also: here’s your reward for making it to the end of this post.
Homemade Mayonnaise
adapted from The Guardian, Jam It, Pickle It, Cure It, and The Food Matters Cookbook
1 egg yolk, room temperature
2 tsp Dijon mustard (optional)
about 1 cup canola oil
1 tsp white wine vinegar
salt and pepper
In a medium-small bowl, whisk the egg yolk and mustard (if using) until thoroughly blended.
Add oil, in very small increments, whisking well between additions, until a creamy emulsion forms. Once your mixture has thickened, you can continue adding the oil in larger increments, still whisking well in between.
When all the oil has been added, or your mixture has reached the consistency you like, add the vinegar, taste the mixture, and add salt or pepper to taste.
Homemade mayonnaise will keep in the refrigerator for about a week.
Deviled Eggs
hard boiled eggs
mayonnaise
mustard of your choice (I prefer spicy whole grain)
Worcestershire sauce
Tabasco or other hot sauce
Paprika
Fresh herb (chives and dill are great options, but feel free to use whatever you have on hand)
Cut each boiled egg in half, and squeeze or scoop yolks into a small bowl. Mash the yolks with a fork, add mayonnaise (about a teaspoon per yolk) and a dash of mustard, and mix well. Add a dash of Worcestershire and Tabasco, taste mixture, and adjust ingredients to taste. When you like the taste of your mixture, carefully spoon it into the hollows of the boiled egg halves. Sprinkle with paprika and finely chopped herbs, and refrigerate until ready to serve.

One thought on “Homemade Mayonnaise: Deviled Eggs”