
Homemade Crackers
Hello from Minneapolis, where I am wrapping up my fourth month of this whole thing. I’m still happy to be working from my kitchen table instead of my office (and let’s be honest, it’s good to be working at all), but… I don’t even know, y’all. Some days it just feels like everything is terrible, and those days are getting more and more frequent. Since I can’t go wander the library stacks, or sit quietly in an art museum gallery, or any of the other non-food-related things I like to do when I’m feeling bad, stress baking it is! And today we’re going back to basics with delicious, wholesome crackers.
I’ve been making these, or some version of them, for about as long as I’ve been able to cook. I first knew this recipe as communion bread; at some point when I was younger, the church where I grew up switched from store bought matzo to homemade wafers. Several families would take turns making the bread each month, and when it was our turn, I loved being able to help with the baking. Mostly because I then got to eat a bunch of the finished product. The original recipe called for white flour and Crisco, but eventually my mom had the idea to use whole wheat flour and olive oil instead, since the early church would have been using those ingredients. The result was a wafer that was both more historically accurate, and far more delicious.
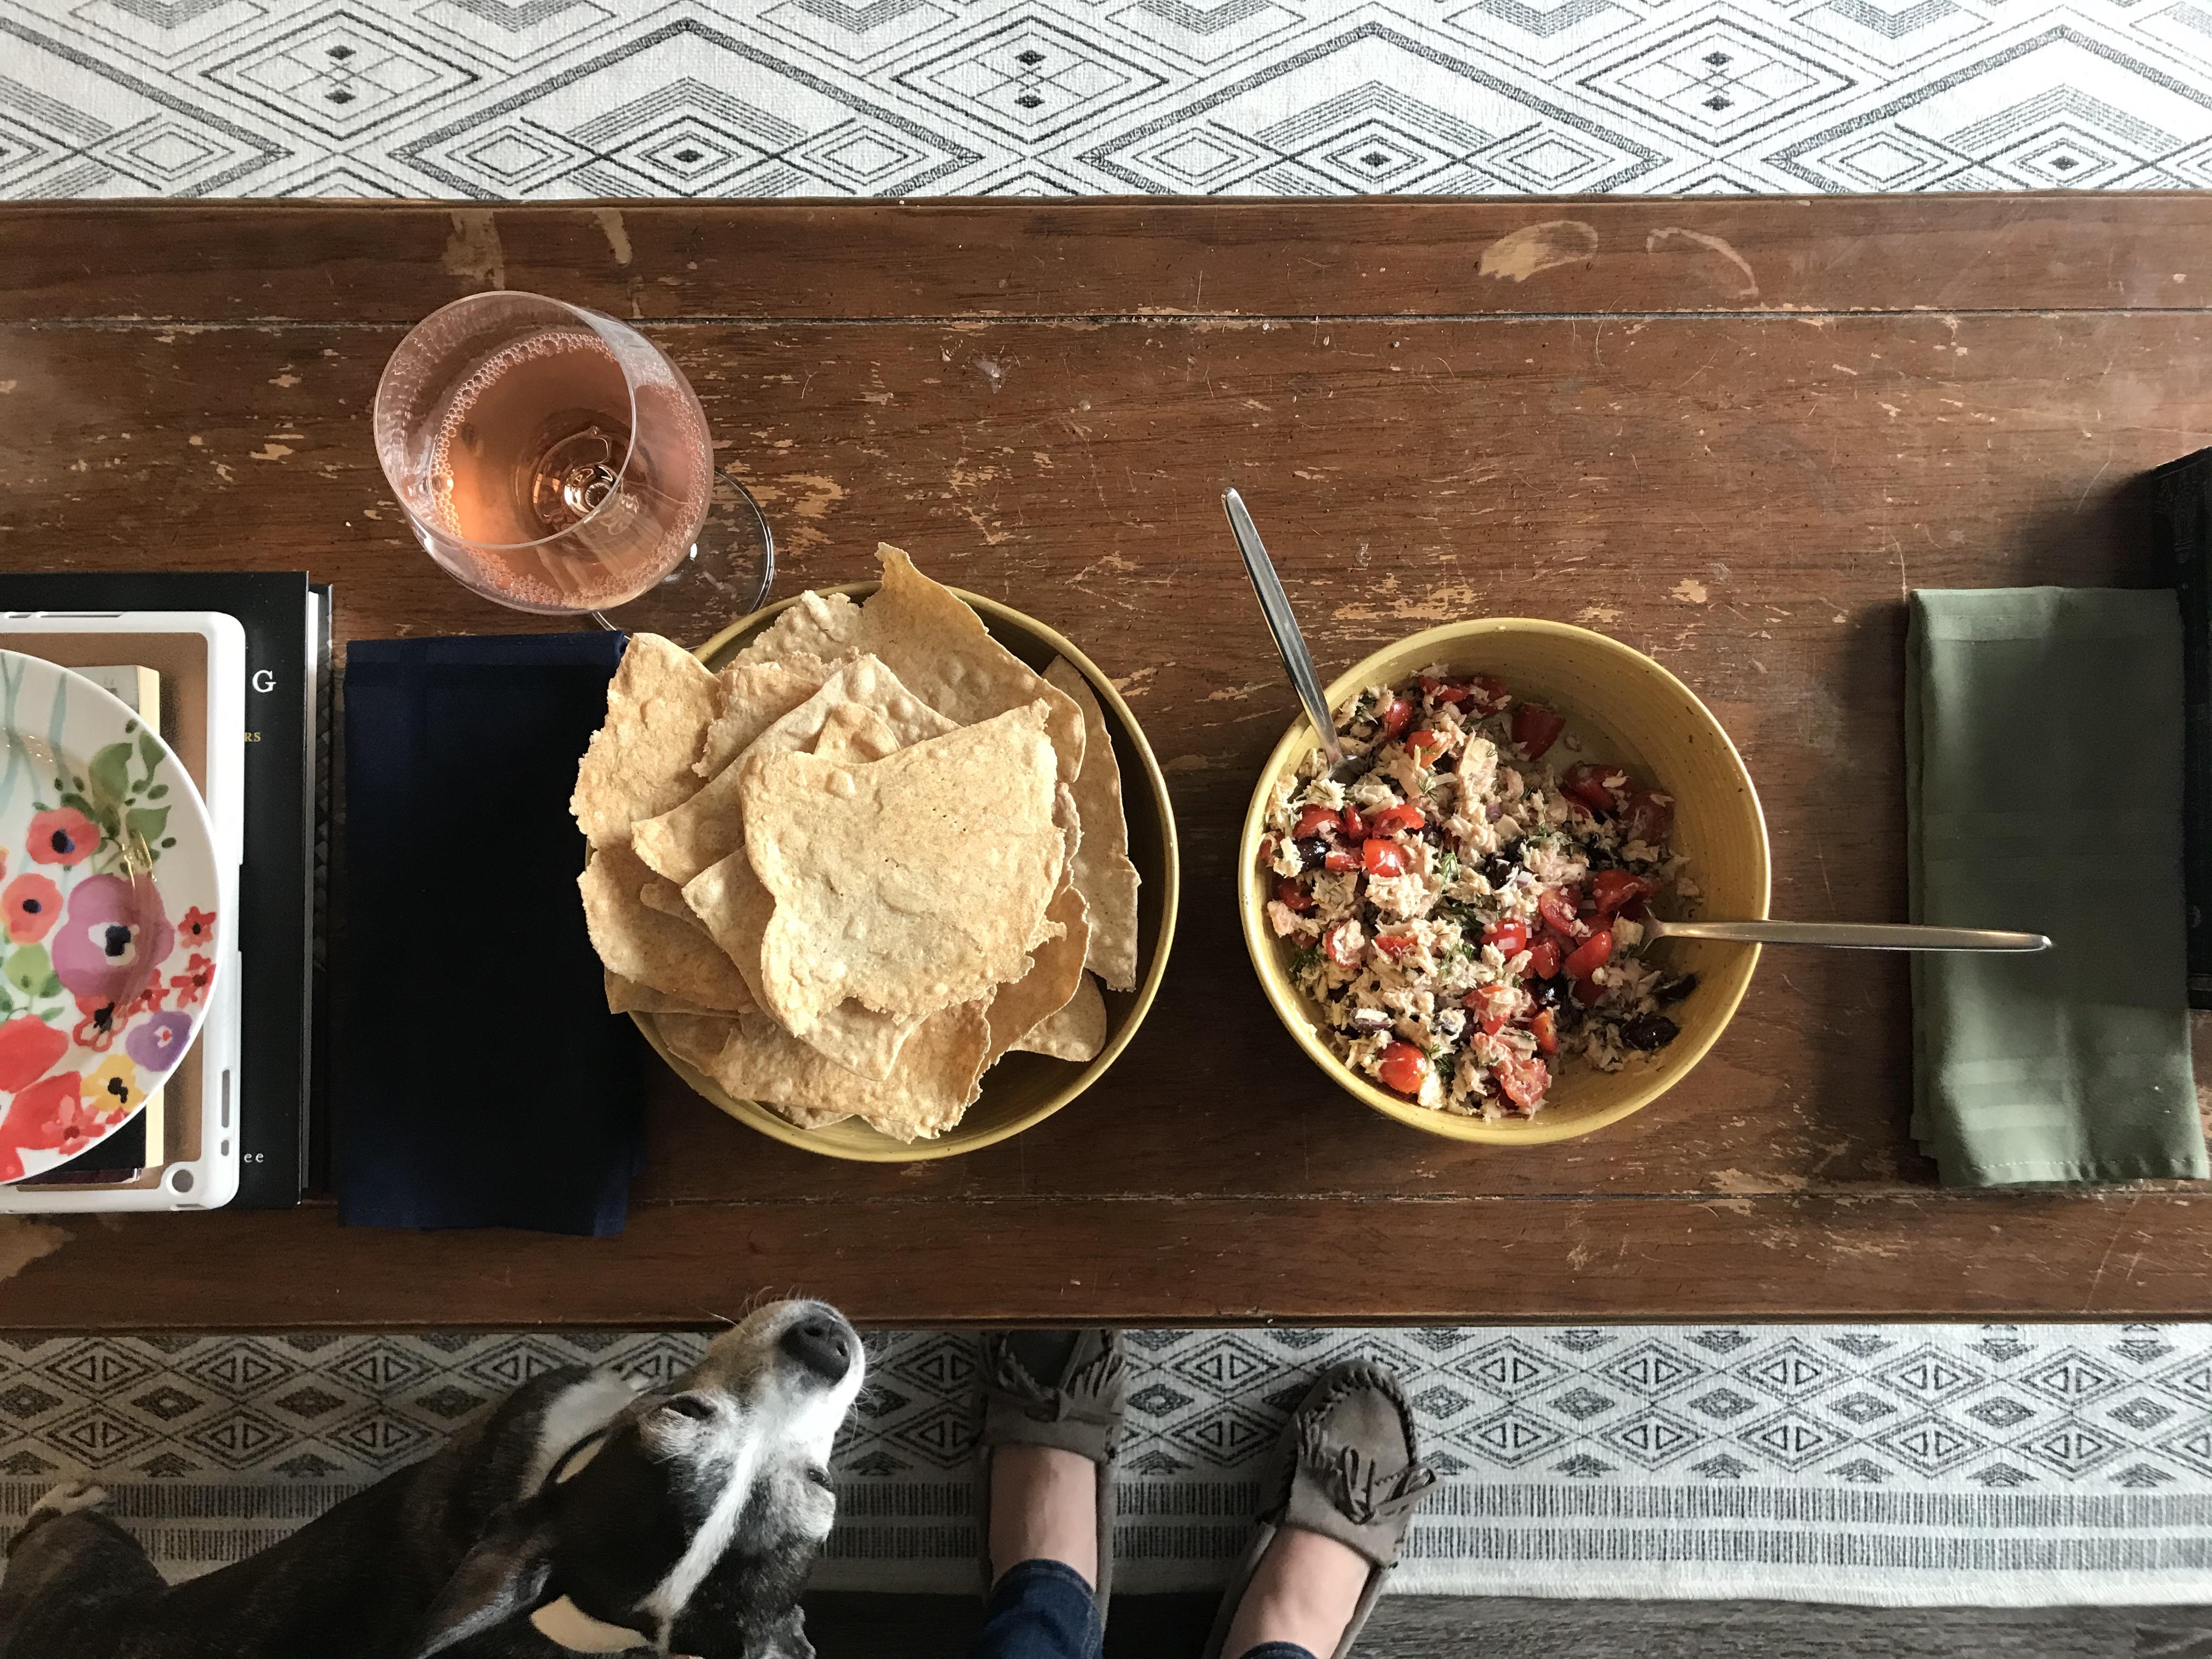
I’ve kept the ingredients for these crackers consistent for the last several years, but I sometimes switch up the proportions. The original recipe has a relatively high ratio of fat to flour, which gives you a wonderfully flaky cracker, reminiscent of pie crust. However, I usually make a version with much less oil, which results in a stiffer dough and a stronger cracker, which makes it ideal for scooping up tuna salad without any breakage. Alex likes this version better, so it’s what I make most often.
Up until recently, these crackers would make an appearance in my kitchen every few months. The dough can be a little tricky to work with, and rolling it out paper thin is a pretty intense arm workout, so this wasn’t necessarily my favorite baking project. But quarantine changes things. Back in the first or second week of it– a time that already seems like a distant memory, when I thought we’d be back to normal in a matter of weeks– I had roasted a chicken for a weeknight dinner, and planned to use the leftover meat to make chicken salad for the next day’s lunch. I realized that I had not bought any crackers, and I definitely didn’t want to make a trip to the store just for that. (Remember back in the early days when going to the grocery store felt like a dangerous mission?) I made these instead, and was so happy with how they complemented the chicken salad that I decided to commit to making them more often.
Because we’ve had so much chicken salad over the last few weeks (and a ton of tuna salad, too), “more often” has turned out to mean “nearly every week.” At this point, making crackers has become a treasured ritual. I’ve memorized the recipe, so I can pop in my earbuds and listen to soothing music or a podcast, trusting my hands to do the work. If I’m having a rough day, forcing the dough into submission relieves some of the stress; if I’m having a good day, making something from scratch makes me feel all the more capable and accomplished. There’s basically no bad time to make these things.
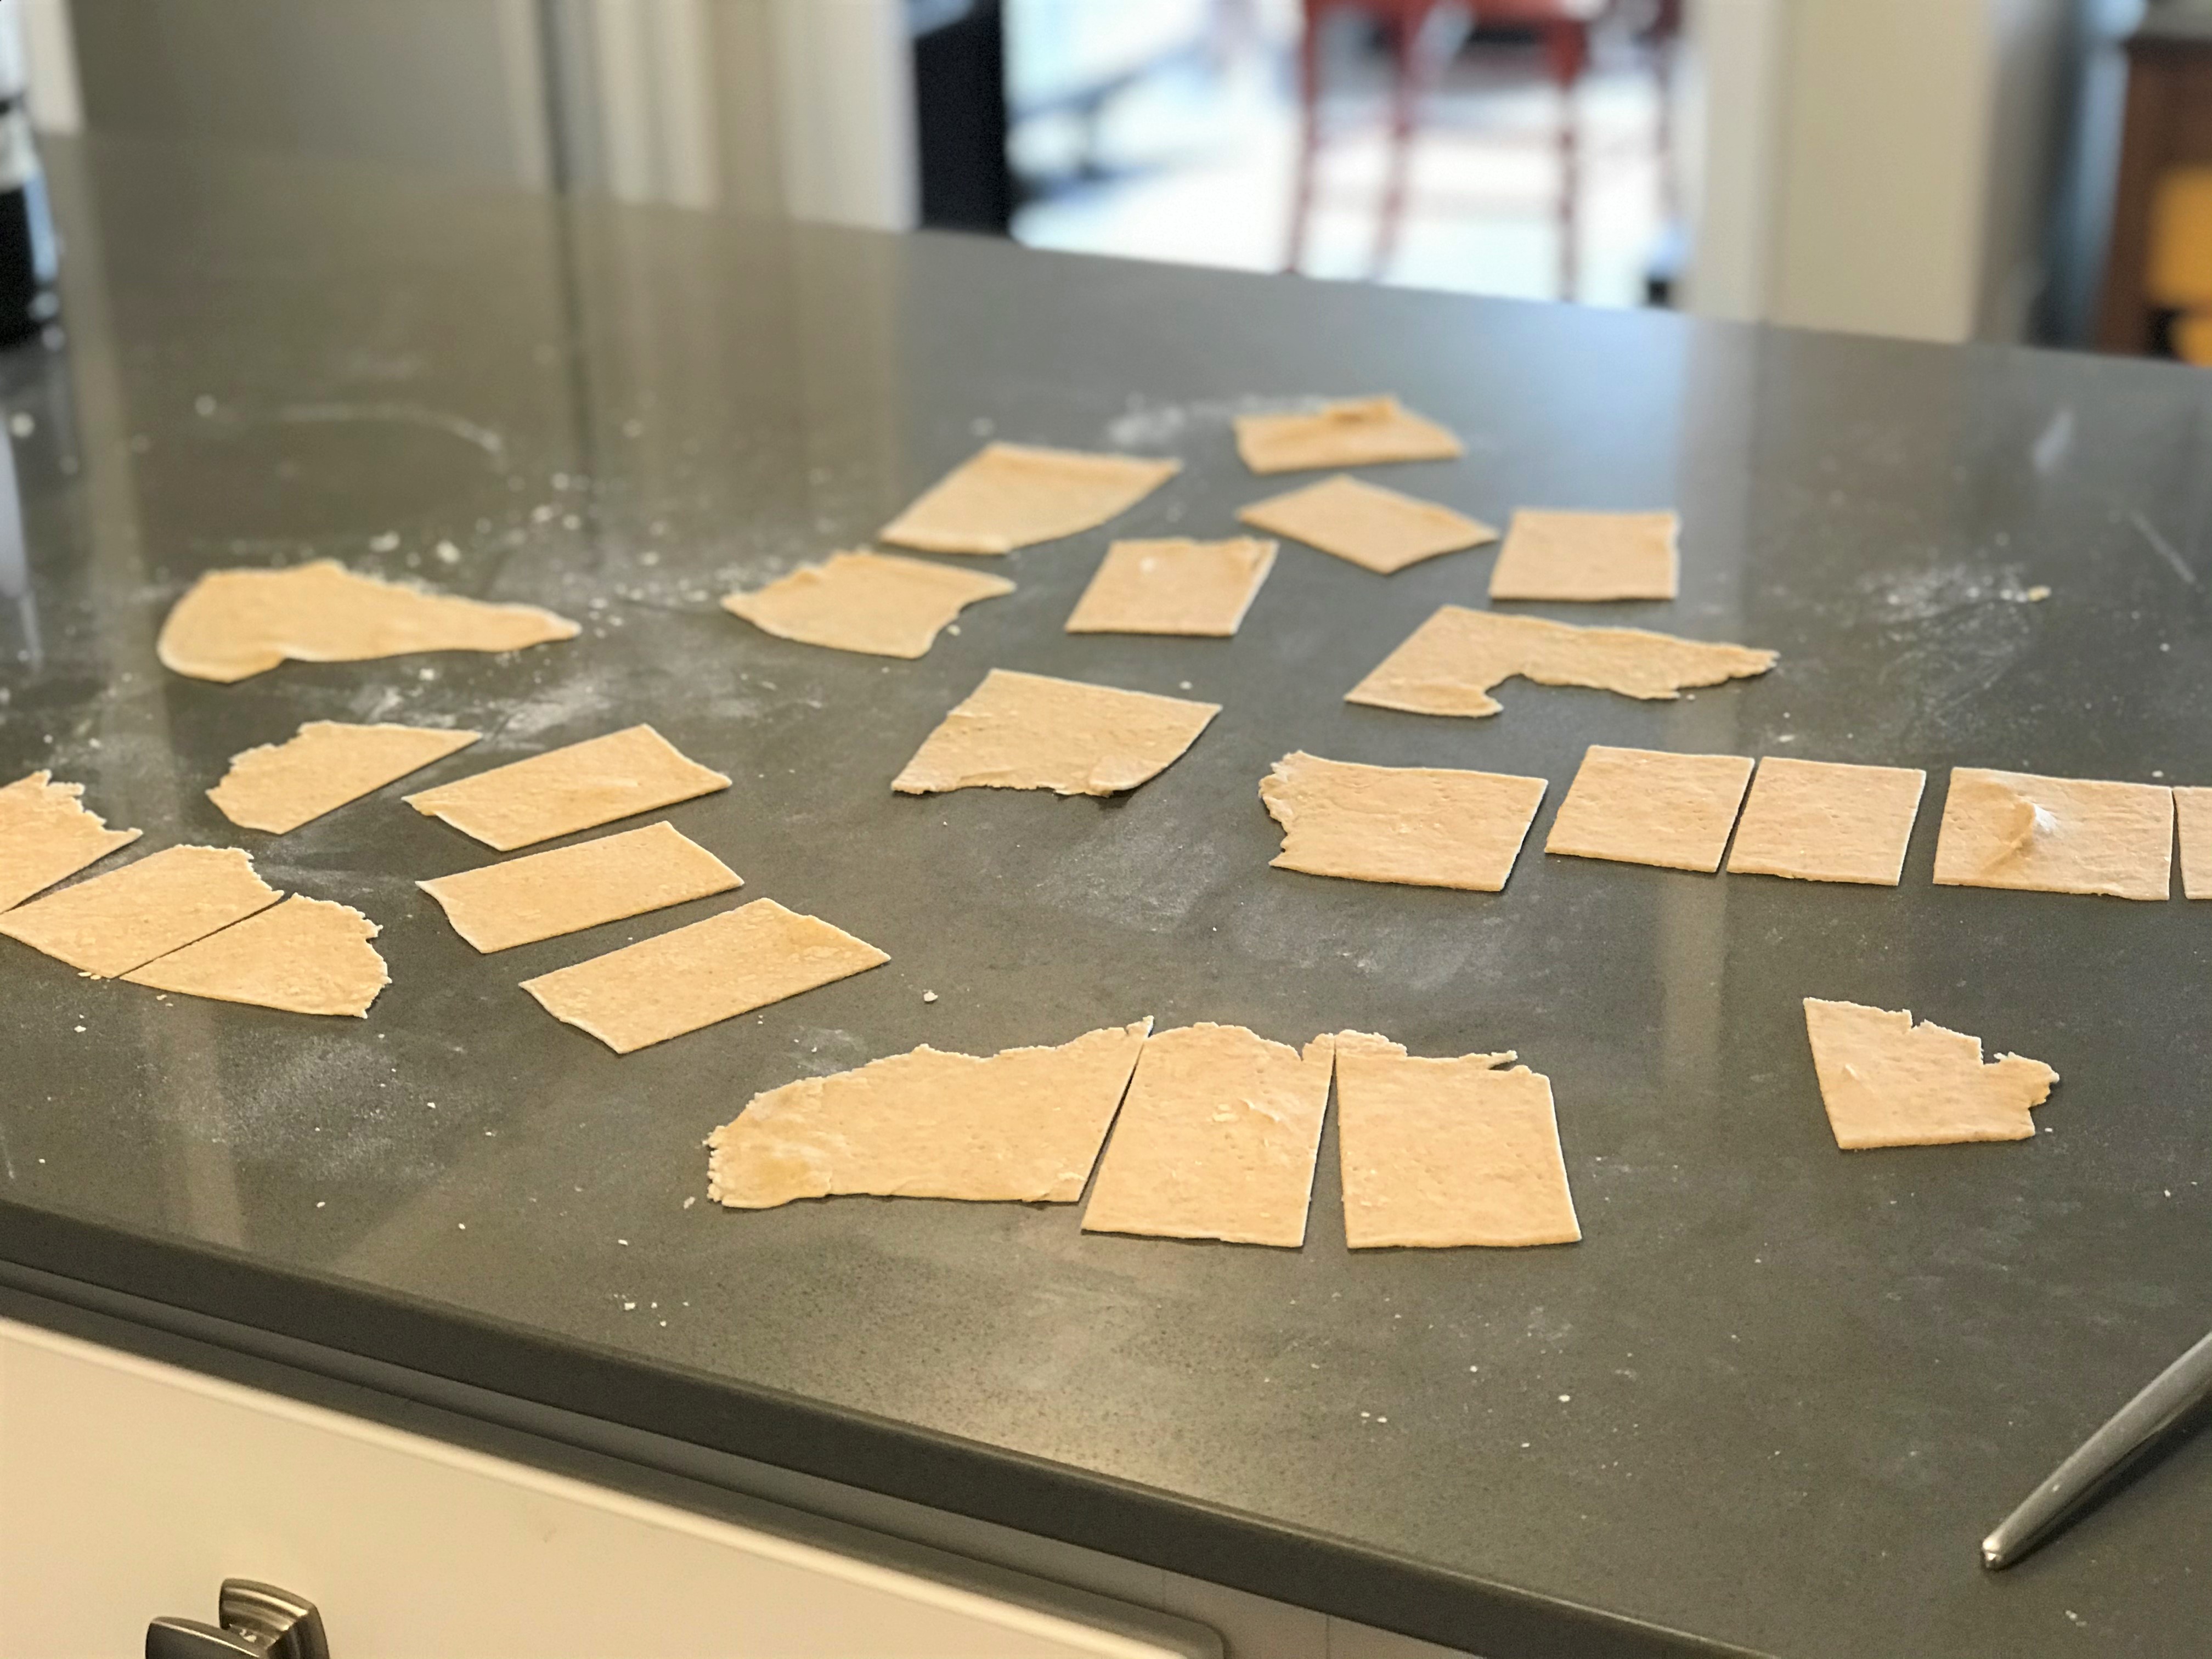
There are two important things to remember when making the dough, and the first is to add the water little by little; the crackers are best when the dough is just barely holding together. I usually use a whisk to get the mixture going, but then it becomes necessary to mix it the rest of the way by hand. The second thing is that you have to roll the dough out thin. As thin as you possibly can. I’ve found it easiest to break the dough into three pieces, use a rolling pin to flatten each to a disk about a half inch thick, then work with one disk at a time. My approach is to flatten that disk as much as I can, then use a pizza wheel to cut the disk into thirds, and cut each third into two or three pieces, and then flatten those small pieces individually. In my opinion, putting my hands on the body of the rolling pin works better than holding the pin by its handles, but either way you’re going to need to use some force. Work those biceps.
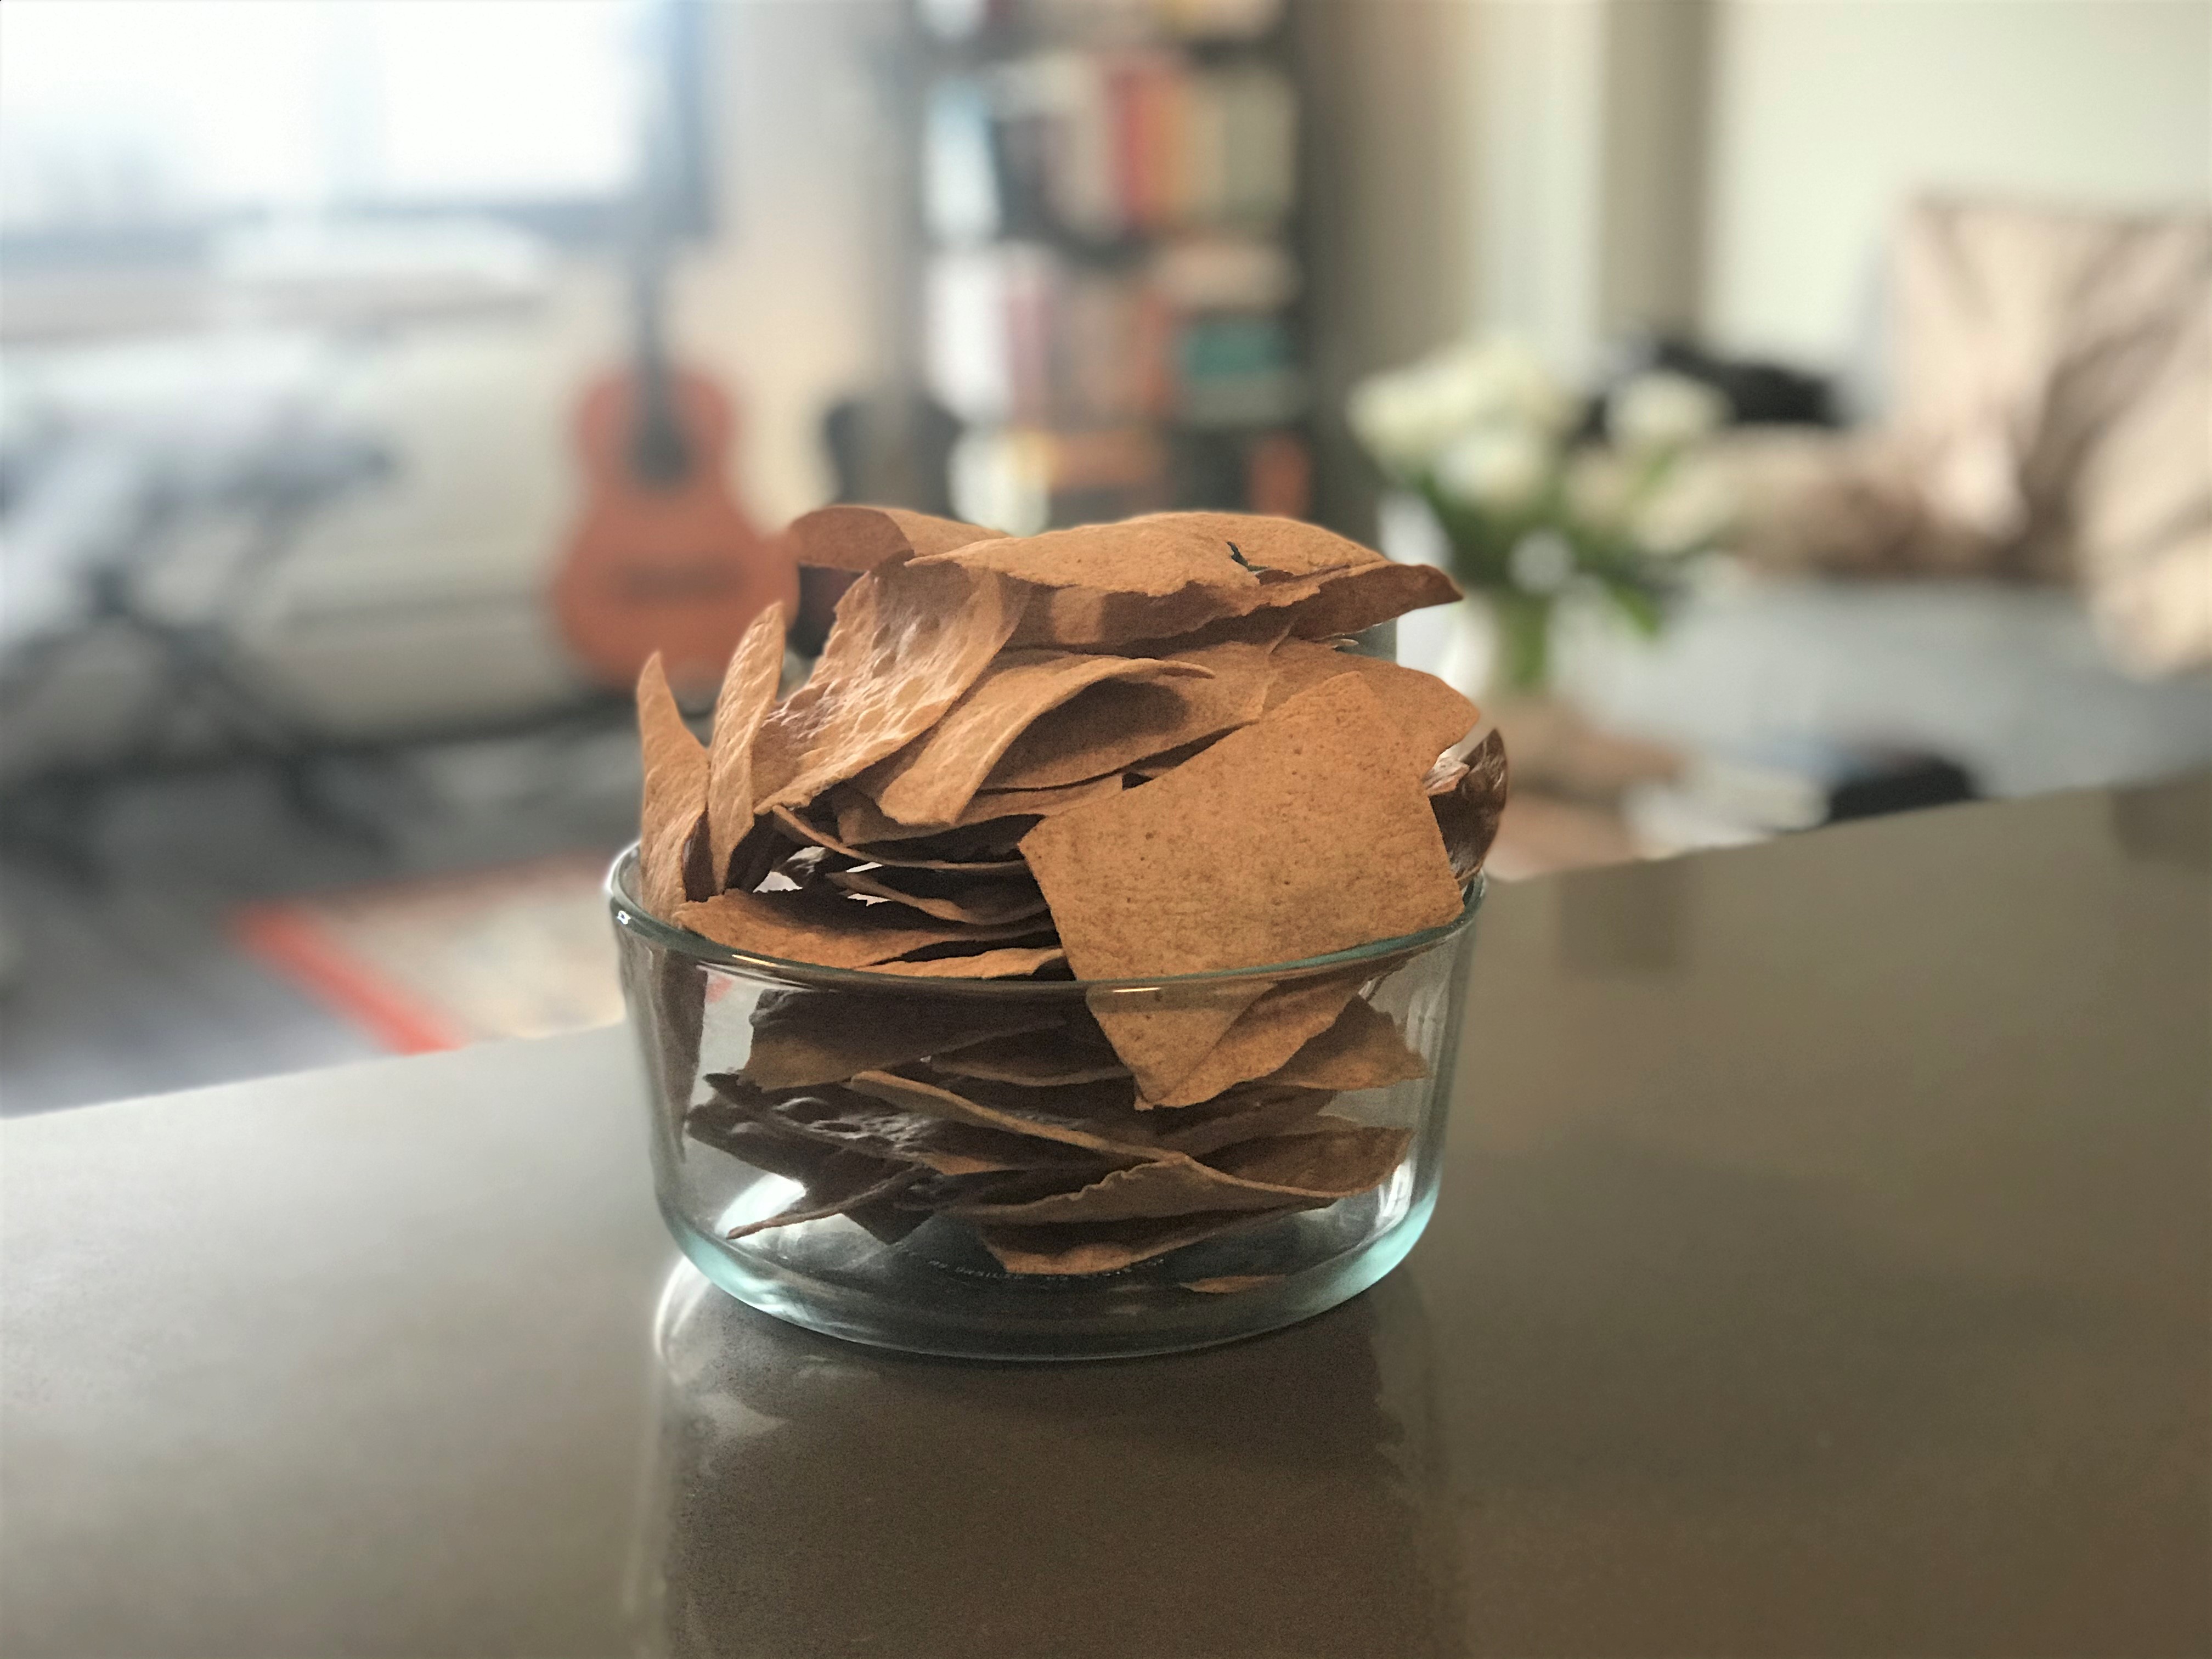
The crackers bake for about ten minutes, until they’re just starting to turn golden. If any of them look a little pale, carefully poke at their centers and see if they still feel a little flexible. If so, they need another couple minutes. There’s nothing sadder than biting into a chewy cracker.
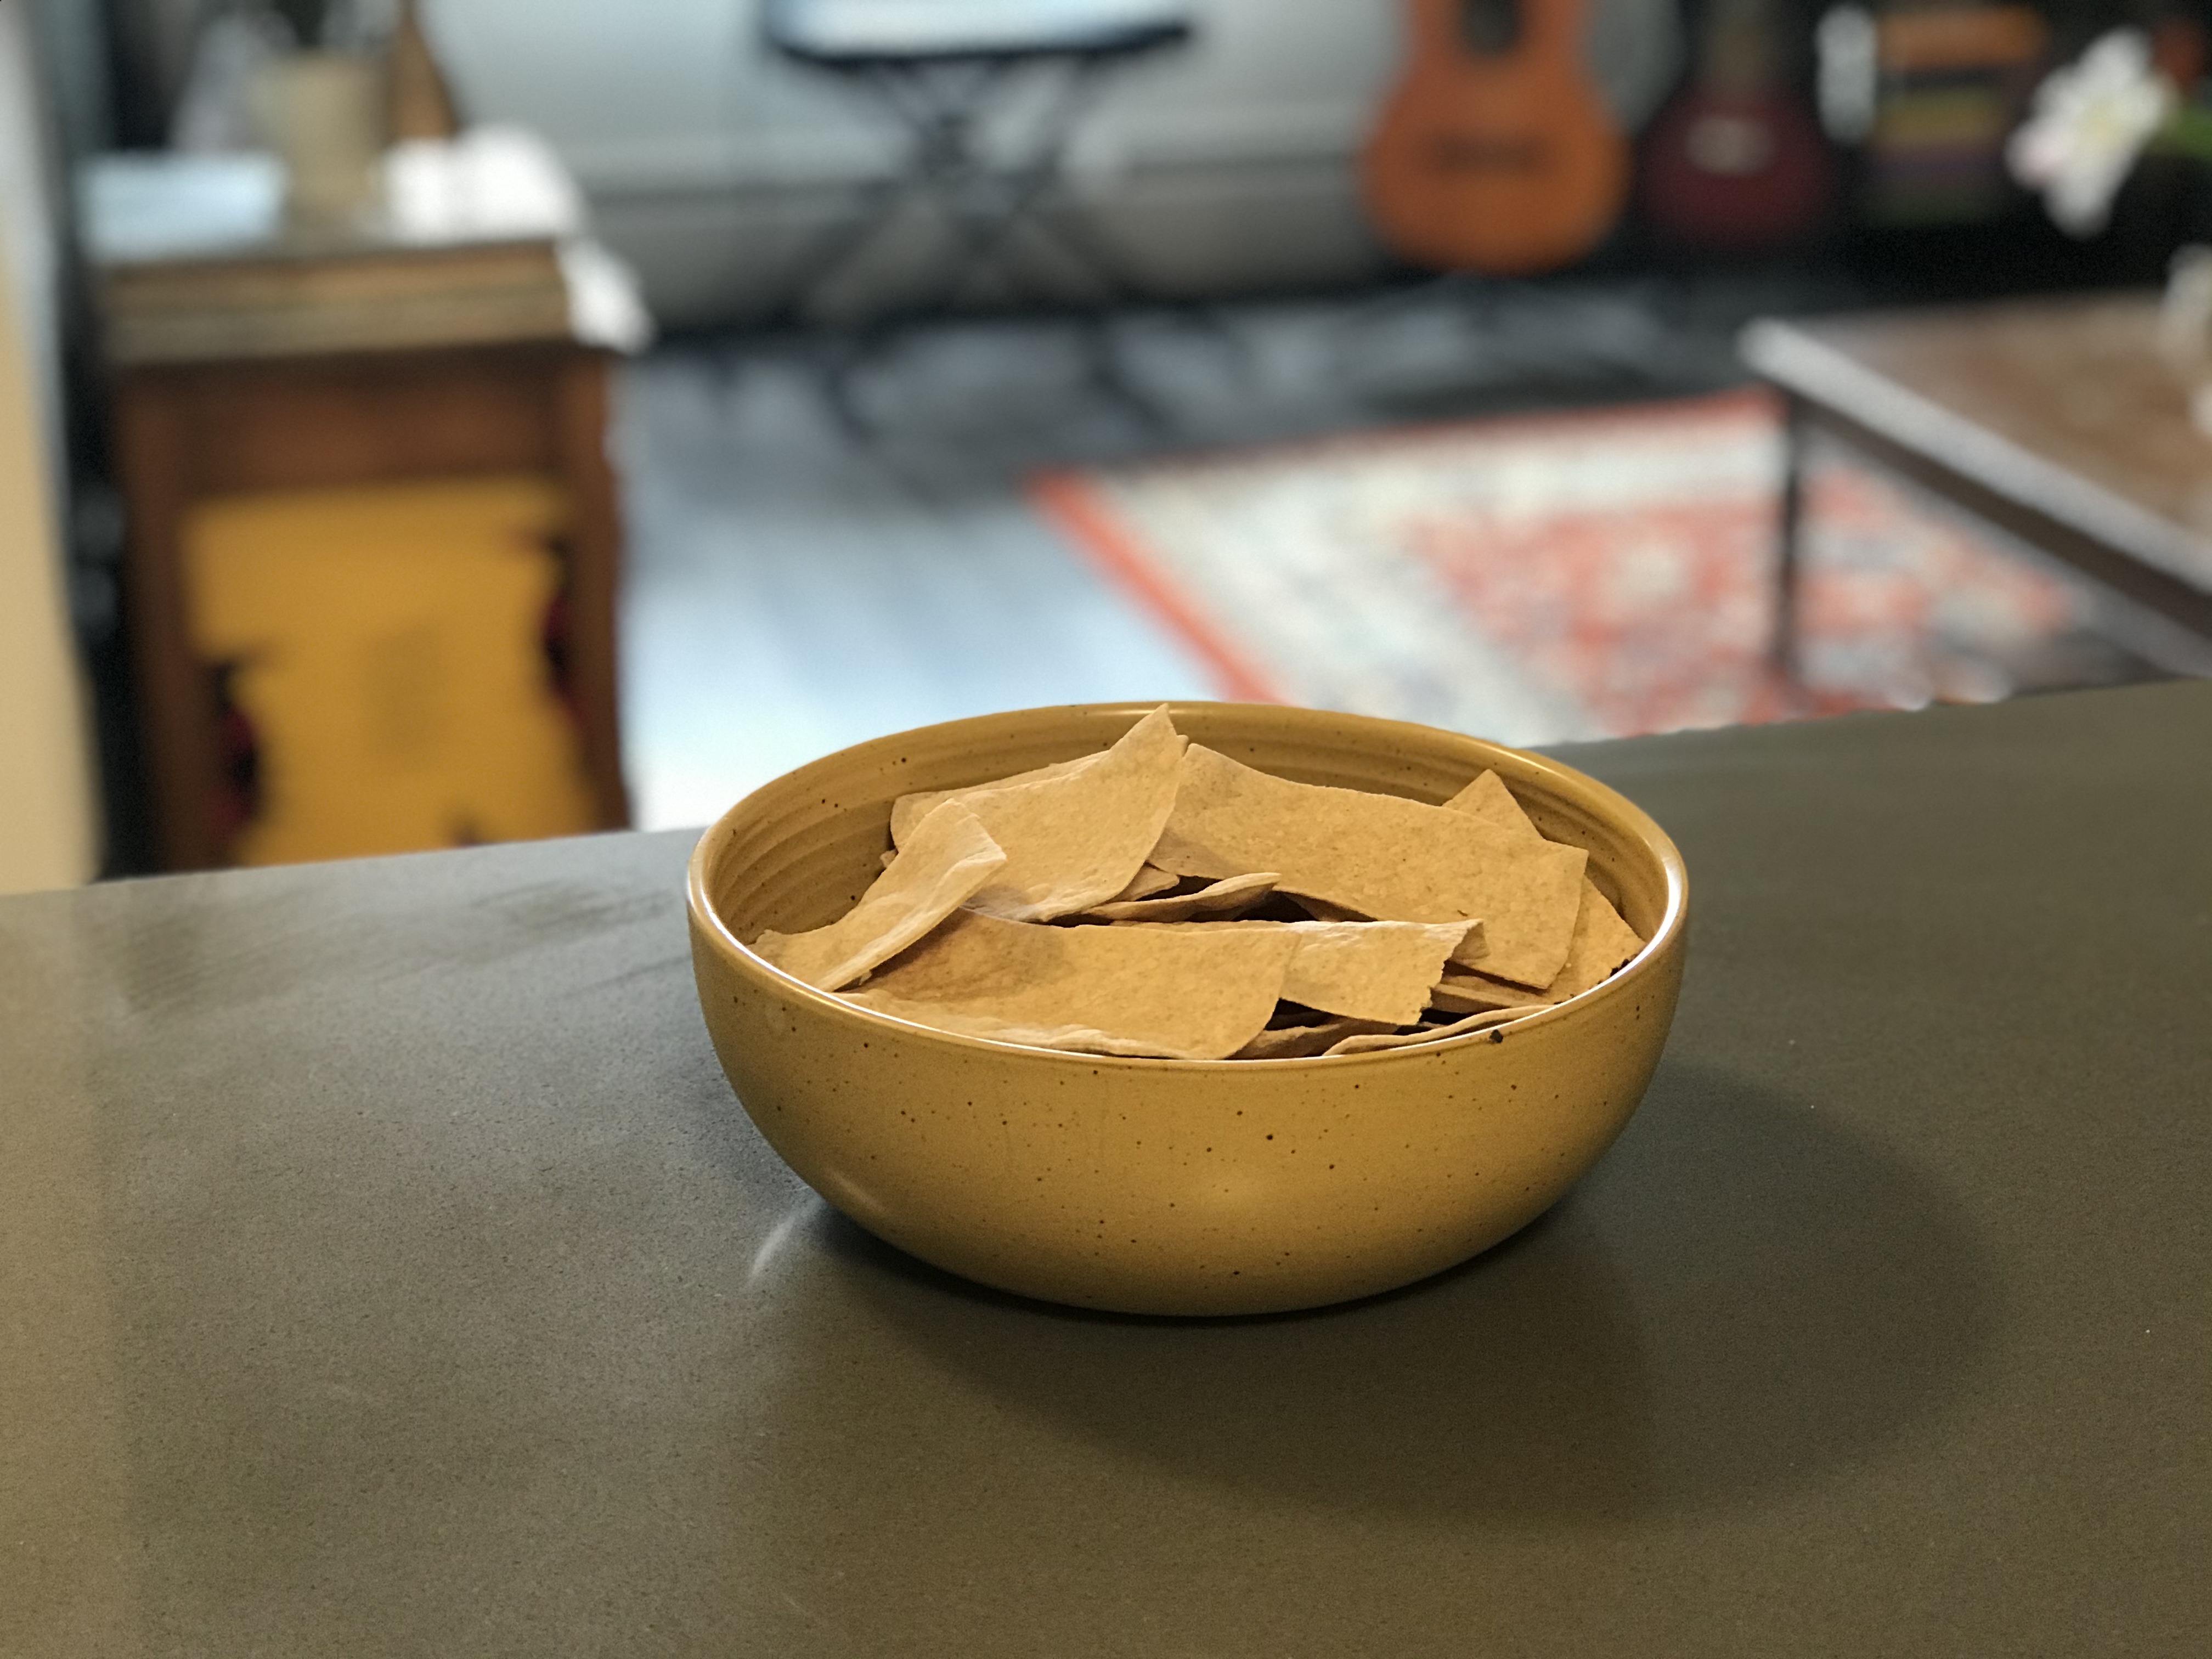
Once baked, these guys are ready for just about anything. Although chicken salad is what brought them into the rotation, we’ve been eating them a lot lately with provencal tuna salad. Highly recommended. (But good luck keeping the dog away.)
Happy stress baking, one and all.
Homemade Crackers
1/2 cup whole wheat flour
1 3/4 cup white flour
1/2 tsp kosher salt
1 Tbsp olive oil
scant ¾ cup warm water (you may not need it all)
Position a baking sheet in the top third of the oven and preheat oven to 350 degrees.
In a large bowl, stir together flour and salt, then stir in olive oil. Add water bit by bit, and stir until all the flour mixture is moistened. If necessary, turn the dough out onto a surface and knead to bring it together.
Divide the dough in thirds, and roll each third into a disk about 1/2 inch thick. Work with one disk at at time, keeping the others covered with a damp paper towel. Roll each disk as thinly as you can, then use a pizza wheel to cut the disk into crackers. Roll each cracker individually until it is paper thin. Using the tines of a fork, prick the dough several times to prevent the dough from puffing.
Transfer the rolled dough pieces onto baking sheets. Bake for about 10 minutes in the preheated oven, until the crackers are golden and crisp.
I remember teaching you this method. 🙂